Every great building starts as a sketch. Whether it's a quick concept drawn during a client meeting, a detailed elevation study, or a rough floor plan on graph paper—these hand-drawn designs capture the essence of architectural vision before any formal documentation begins.
Traditionally, transforming these sketches into presentation-ready renders required weeks of work: creating 3D models, setting up materials, configuring lighting, and waiting hours for renders to process. This bottleneck often meant that early-stage concepts never got the visual treatment they deserved.
With AI-powered rendering, that's changed completely. Now you can go from a hand-drawn sketch to a photorealistic visualization in minutes. This guide will walk you through the entire process using Rendershop.
Why Sketch-to-Render Matters
The sketch-to-render workflow isn't just about saving time—it fundamentally changes how architects and designers communicate ideas:
- Faster client feedback: Show clients realistic visualizations during the first meeting, not weeks later
- More design iterations: Explore multiple concepts without the overhead of 3D modeling each one
- Better communication: Help clients understand spatial relationships and material choices before committing
- Preserved design intent: The AI interprets your sketch's character, maintaining the original vision
- Lower barrier to entry: Students and solo practitioners can create professional presentations without expensive software
Step 1: Prepare Your Sketch
The quality of your output depends significantly on your input. While Rendershop's AI is remarkably good at interpreting rough sketches, following these guidelines will give you the best results:
Sketch Requirements
- Clear lines: Use dark, confident strokes. Faint pencil marks may not be detected.
- Good contrast: White or light paper with dark ink works best.
- Defined edges: Show where walls, roofs, and openings are located.
- Proper perspective: One-point or two-point perspective sketches render best.
- Clean scan/photo: Avoid shadows, wrinkles, or partial crops.
You can use pencil sketches, ink drawings, marker renderings, or even digital sketches from apps like Procreate or Concepts. The AI handles all of these formats effectively.
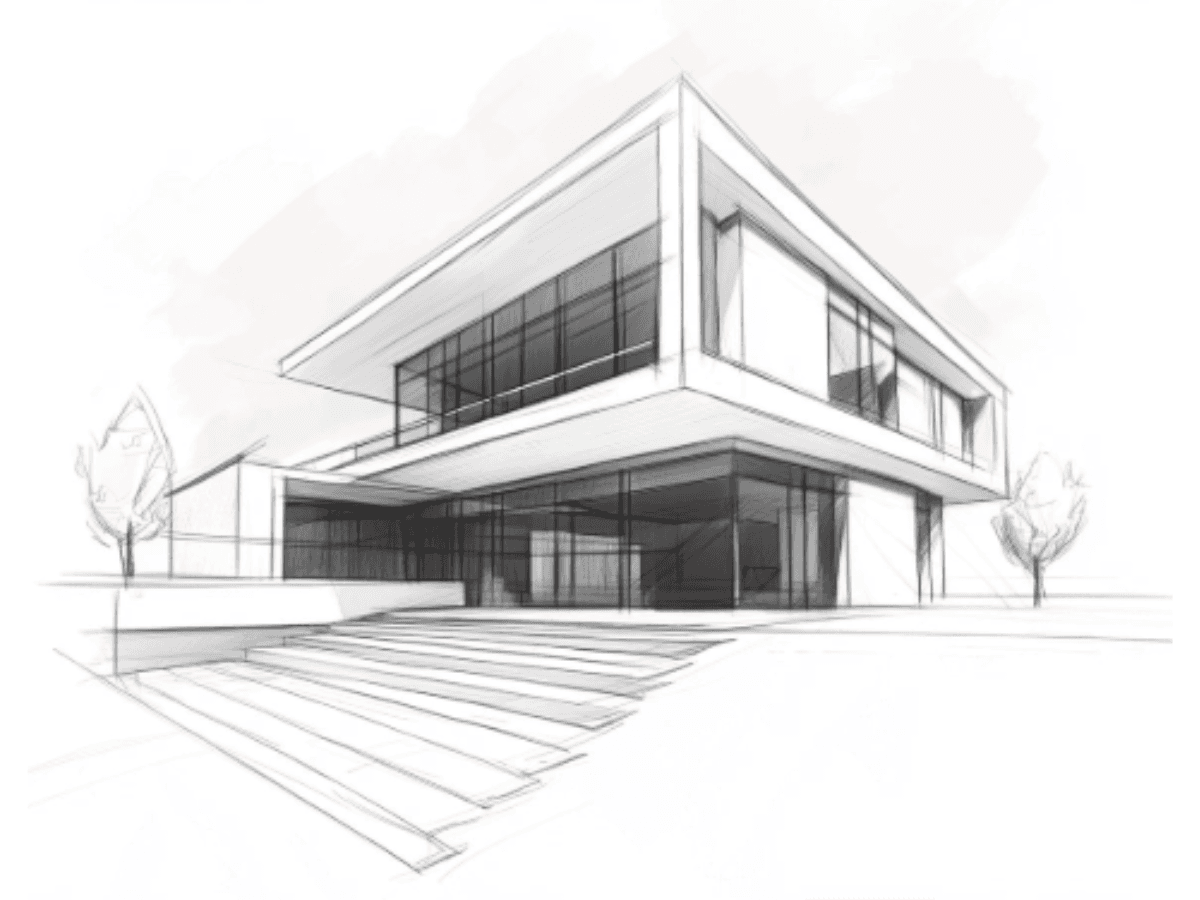
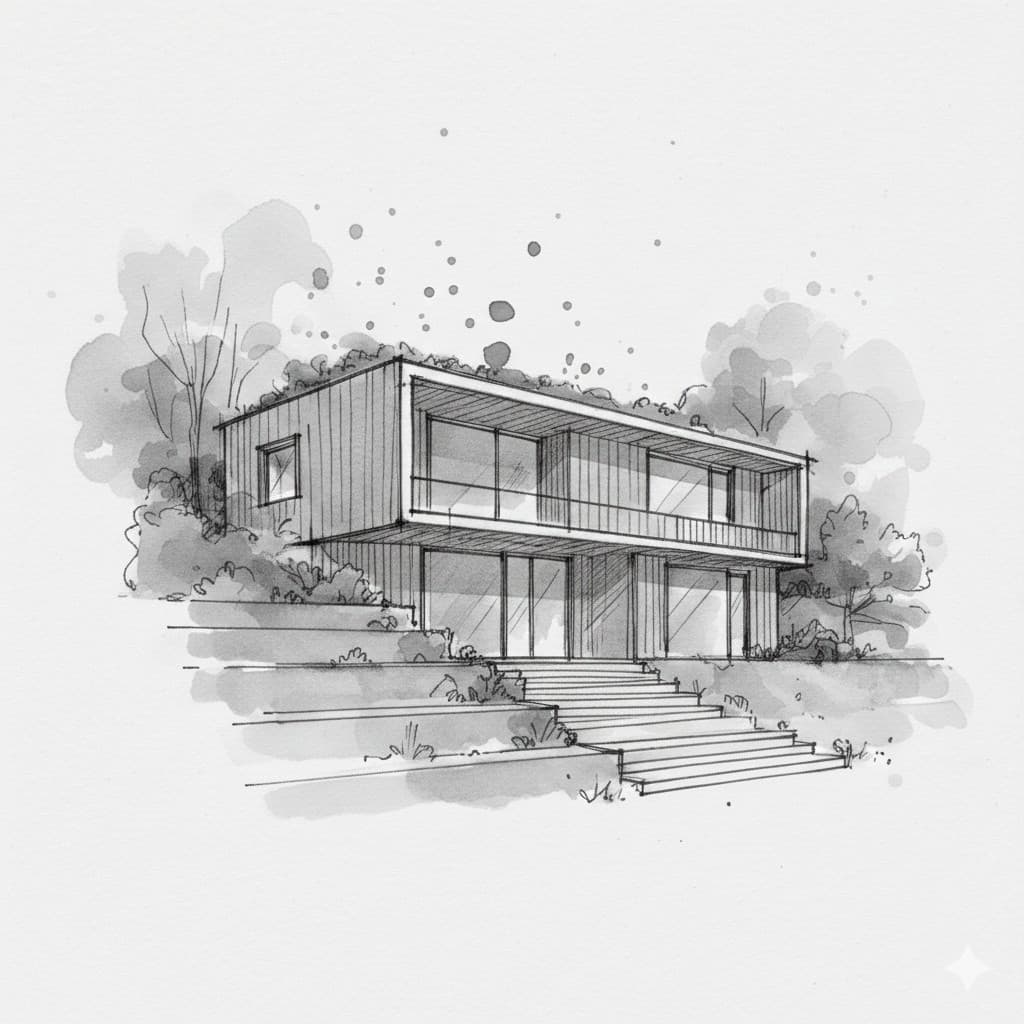
Upload your sketch directly to the Rendershop dashboard
Step 2: Upload and Configure Your Render
Once you've prepared your sketch, the rendering process is straightforward:
- Upload your sketch: Drag and drop your image into the Rendershop dashboard, or click to browse your files. Supported formats include JPG, PNG, and WEBP.
- Write your prompt: Describe the style, materials, and atmosphere you want. Be specific about architectural style, time of day, and key materials.
- Select your style: Choose from presets like Modern, Mediterranean, Scandinavian, Industrial, or describe a custom style.
- Adjust settings: Fine-tune parameters like creativity level (how closely to follow the sketch) and output resolution.
Writing Effective Prompts
Your prompt is crucial for getting the results you want. Here are examples of effective prompts for different scenarios:
Example Prompts:
Modern Residential:
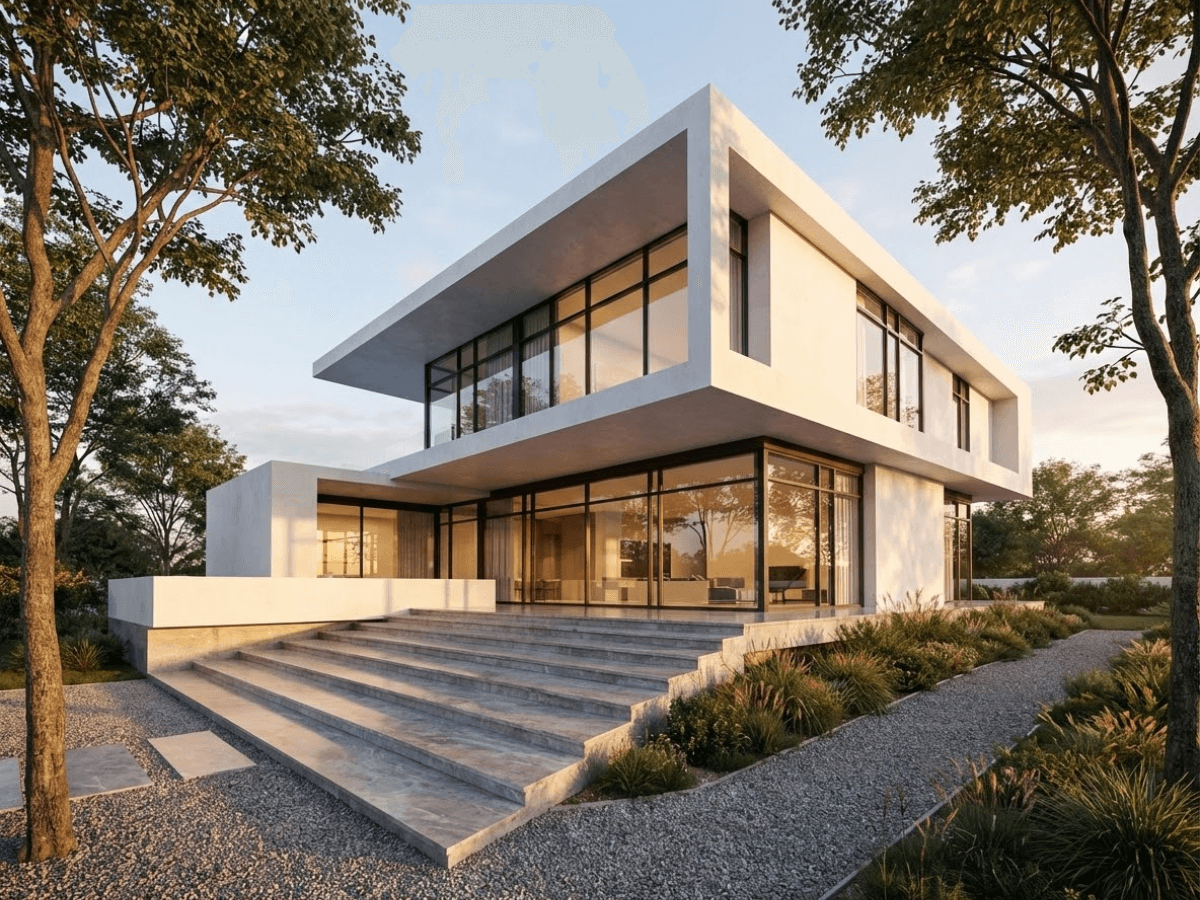
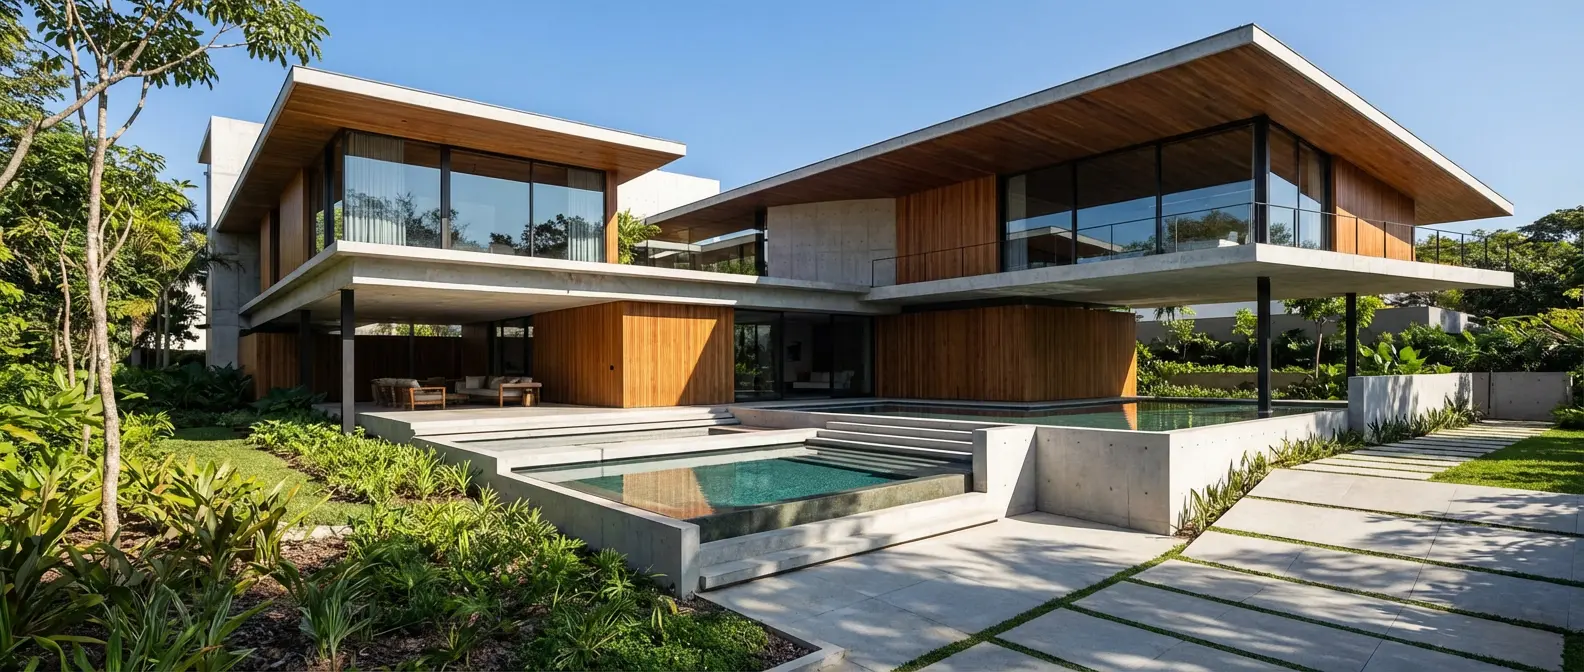
"Modern minimalist home with floor-to-ceiling glass windows, white stucco exterior, flat roof with wooden accents, surrounded by native landscaping, golden hour lighting"
Mediterranean Villa:
"Mediterranean style villa with terracotta roof tiles, cream stucco walls, arched windows and doorways, courtyard with fountain, lush garden, warm afternoon sunlight"
Urban Commercial:
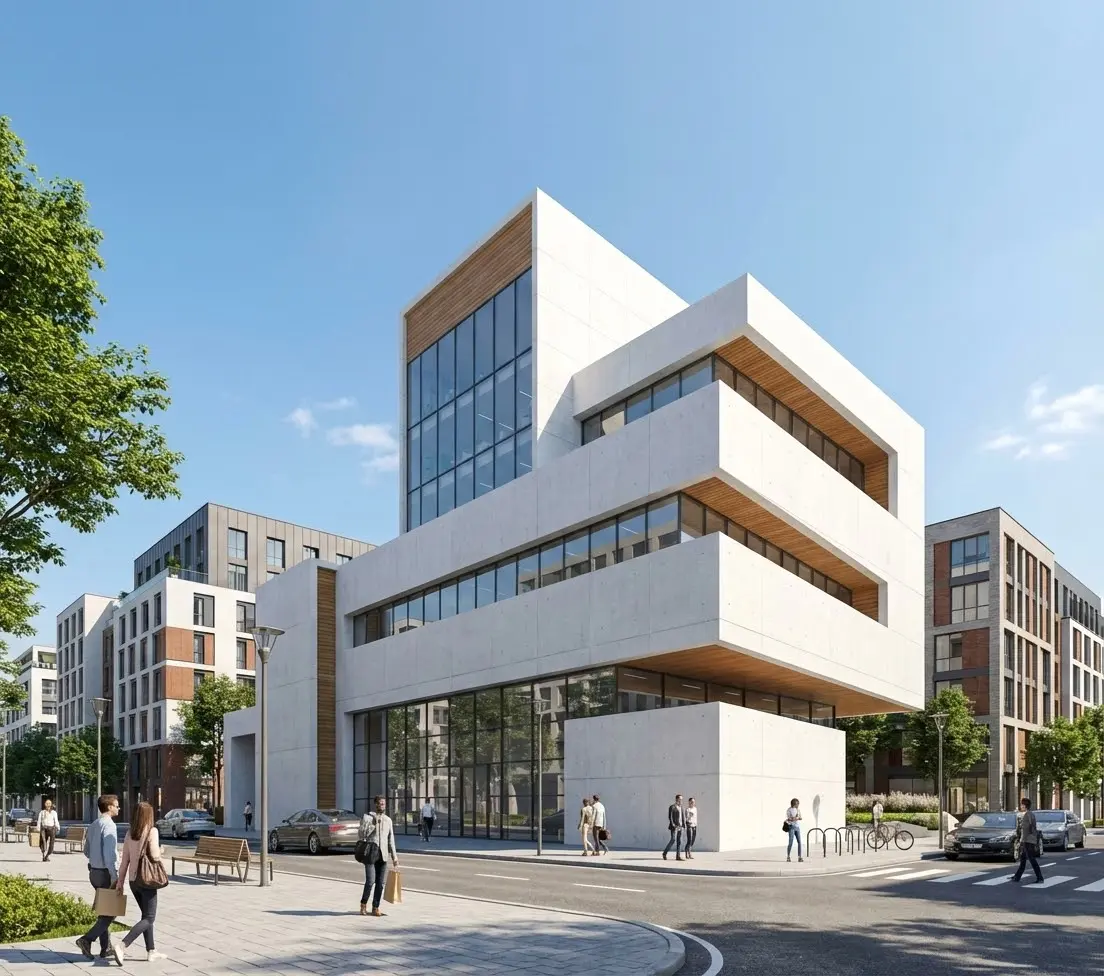
"Contemporary office building with glass curtain wall facade, steel structural elements visible, street-level retail, urban context with pedestrians, overcast sky"
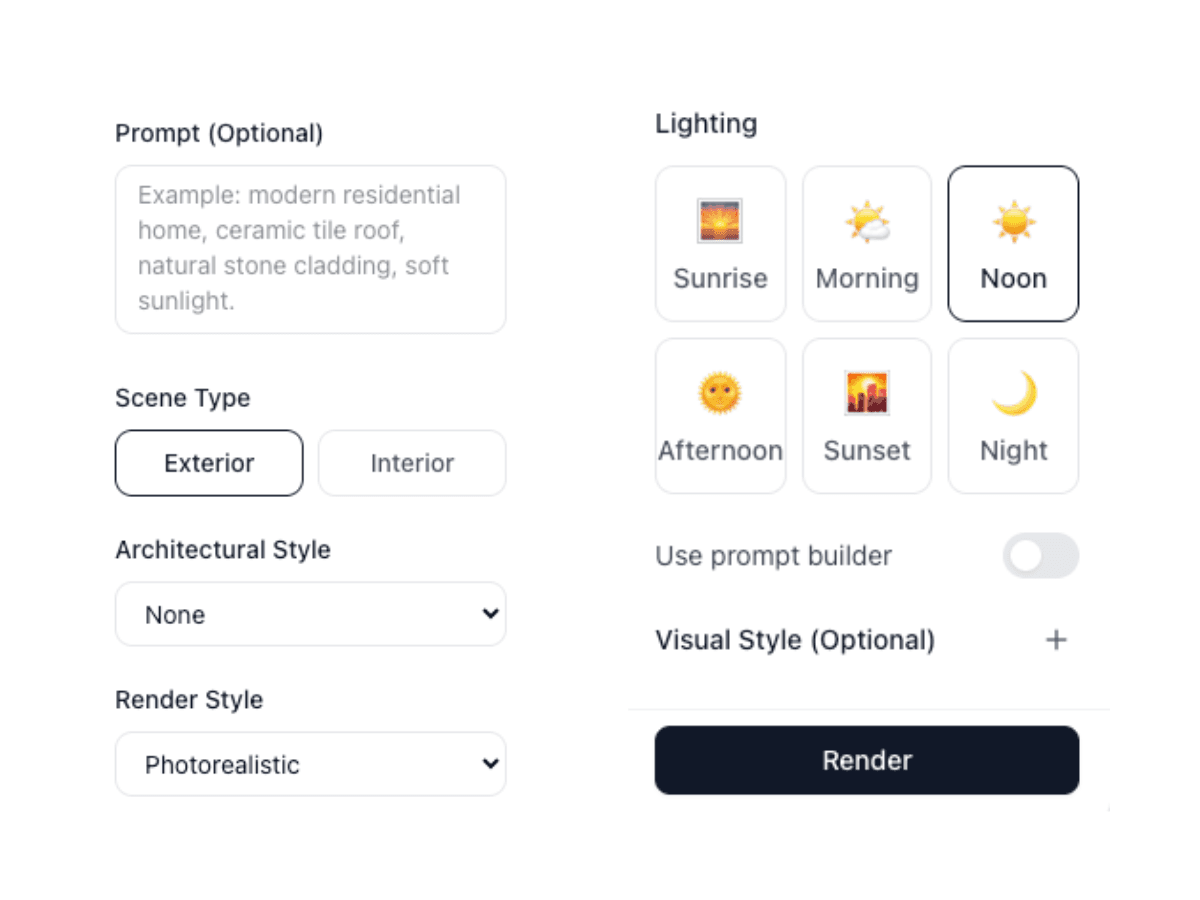
Configure style, materials, and atmosphere with your prompt
Step 3: Generate and Refine
Click "Generate" and watch as your sketch transforms into a photorealistic visualization. The AI typically produces results in 30-60 seconds, depending on complexity and resolution settings.
Don't expect perfection on the first try—iteration is part of the creative process. Here's how to refine your results:
Iteration Strategies
- Adjust your prompt: Add more specific details about materials, lighting, or style elements
- Try different styles: The same sketch can produce dramatically different results with different style presets
- Vary creativity settings: Lower creativity follows your sketch more closely; higher creativity allows more AI interpretation
- Generate multiple versions: Create 3-4 variations and pick the best elements from each
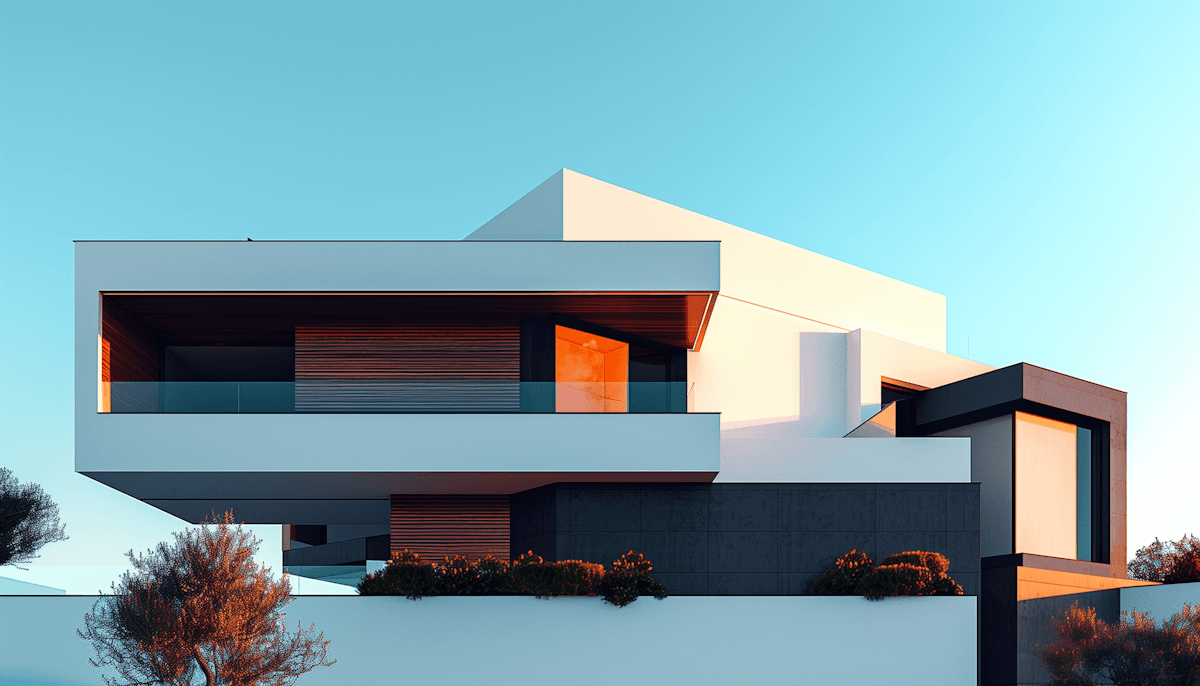
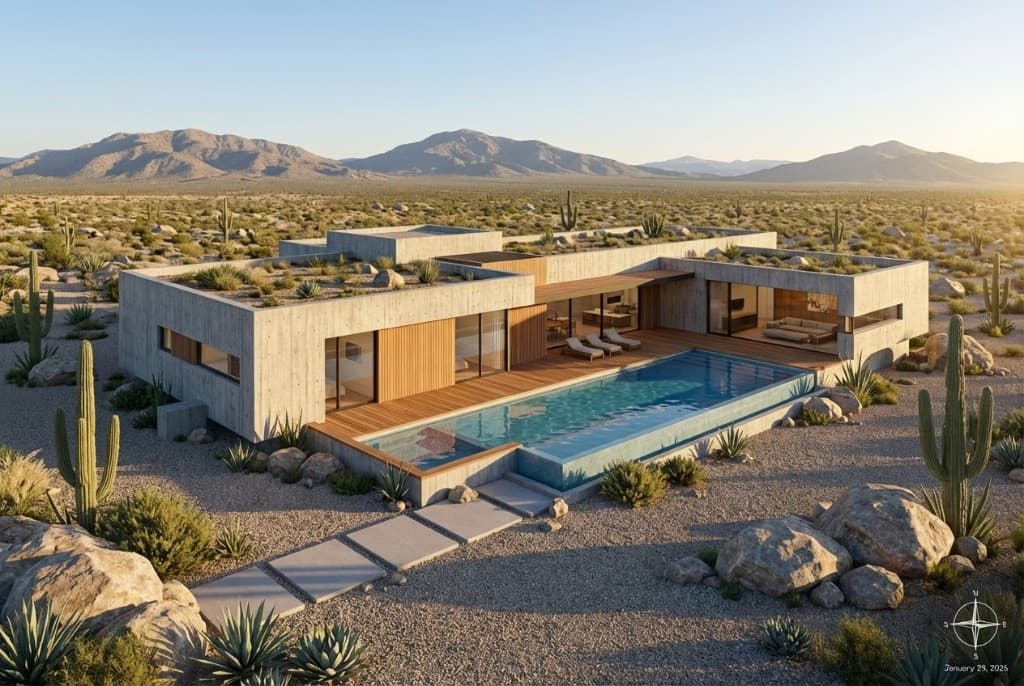
Your sketch transformed into a photorealistic architectural visualization
Step 4: Edit and Enhance Your Render
Once you have a base render you're happy with, Rendershop's editing tools let you make targeted adjustments without starting over:
Using the Edit Tool
The Edit tool uses markup points to identify specific areas for modification. Simply click on the area you want to change, describe what you want, and the AI will modify only that region while preserving everything else.
Common Edit Use Cases:
- • Change roofing material from shingles to metal
- • Swap window styles or add additional glazing
- • Modify landscaping or add trees and vegetation
- • Adjust exterior cladding materials
- • Add architectural details like shutters or trim
- • Change the time of day or lighting conditions
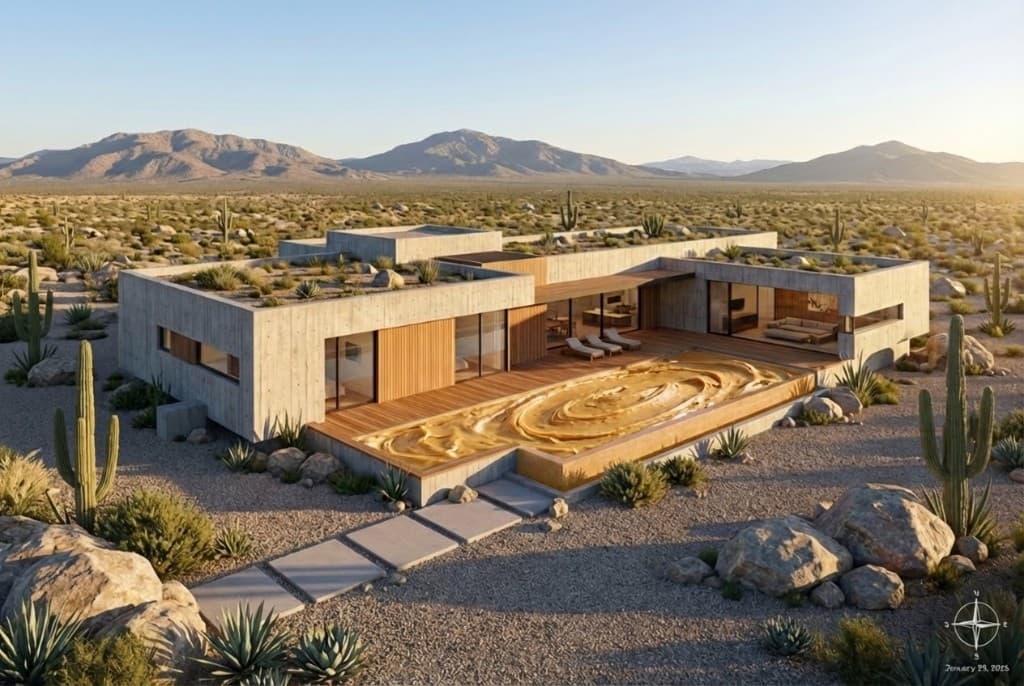
Make targeted edits to specific areas without regenerating the entire image
Using the Enhance Tool
For final polish, the Enhance tool can upscale resolution, sharpen details, improve color balance, and add photorealistic texture detail. This is especially useful when preparing images for large-format printing or high-resolution presentations.
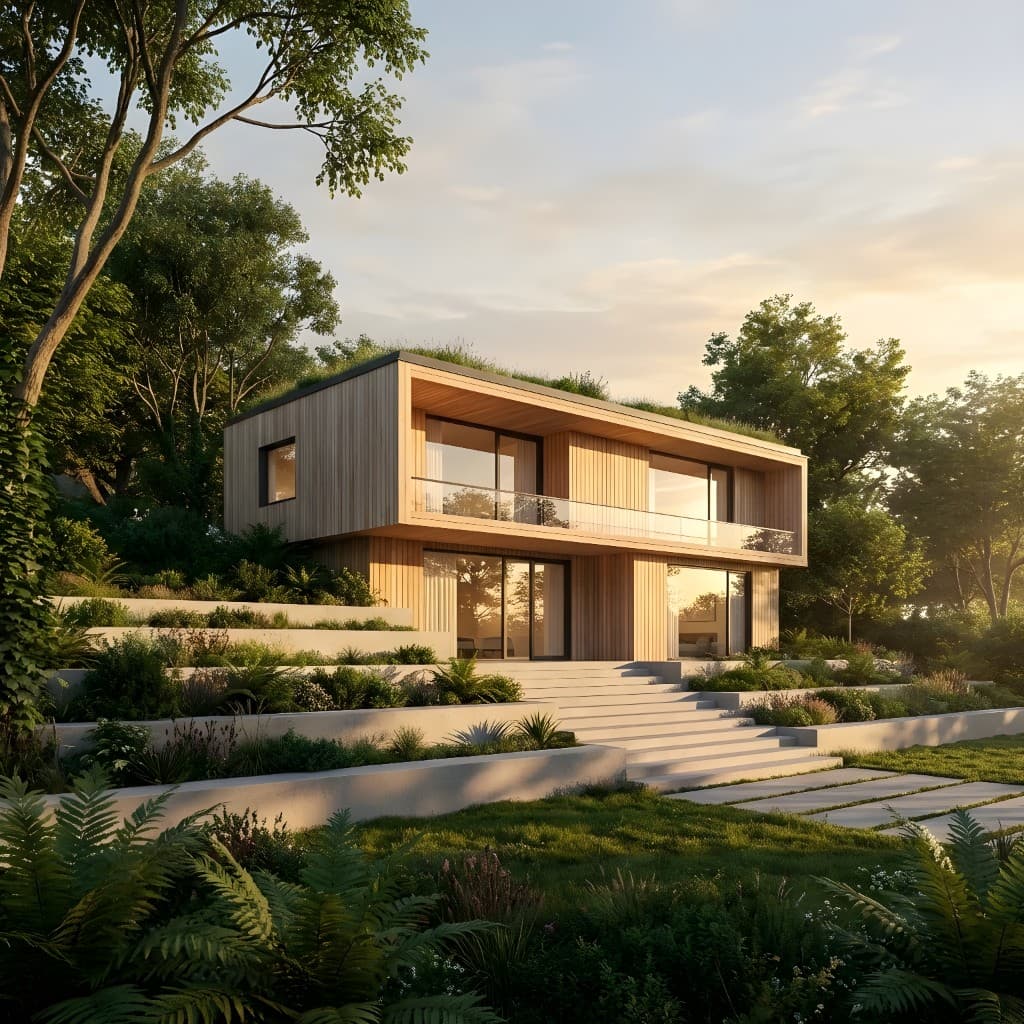
Enhanced render with improved textures, sharpness, and color depth
Best Practices for Sketch-to-Render Workflows
After helping thousands of architects and designers transform their sketches, we've identified these best practices:
1. Start with Clear Intent
Before uploading, know what you want to communicate. Is this an exterior elevation? An interior perspective? A site plan view? The clearer your sketch's intent, the better the AI can interpret it.
2. Use Reference Images
If you have specific material or style references, mention them in your prompt. "Corten steel cladding like the Barclays Center" or "warm wood tones similar to Scandinavian design" gives the AI concrete direction.
3. Iterate Quickly
Don't spend too long perfecting your first attempt. Generate several variations quickly, identify what's working, and refine from there. The speed of AI rendering makes rapid iteration possible.
4. Build a Prompt Library
Save prompts that work well for your typical project types. Over time, you'll develop a personal library of effective descriptions that consistently produce great results.
Sketch-to-Render Examples
Here are examples of various architectural sketches transformed into photorealistic renders using Rendershop:
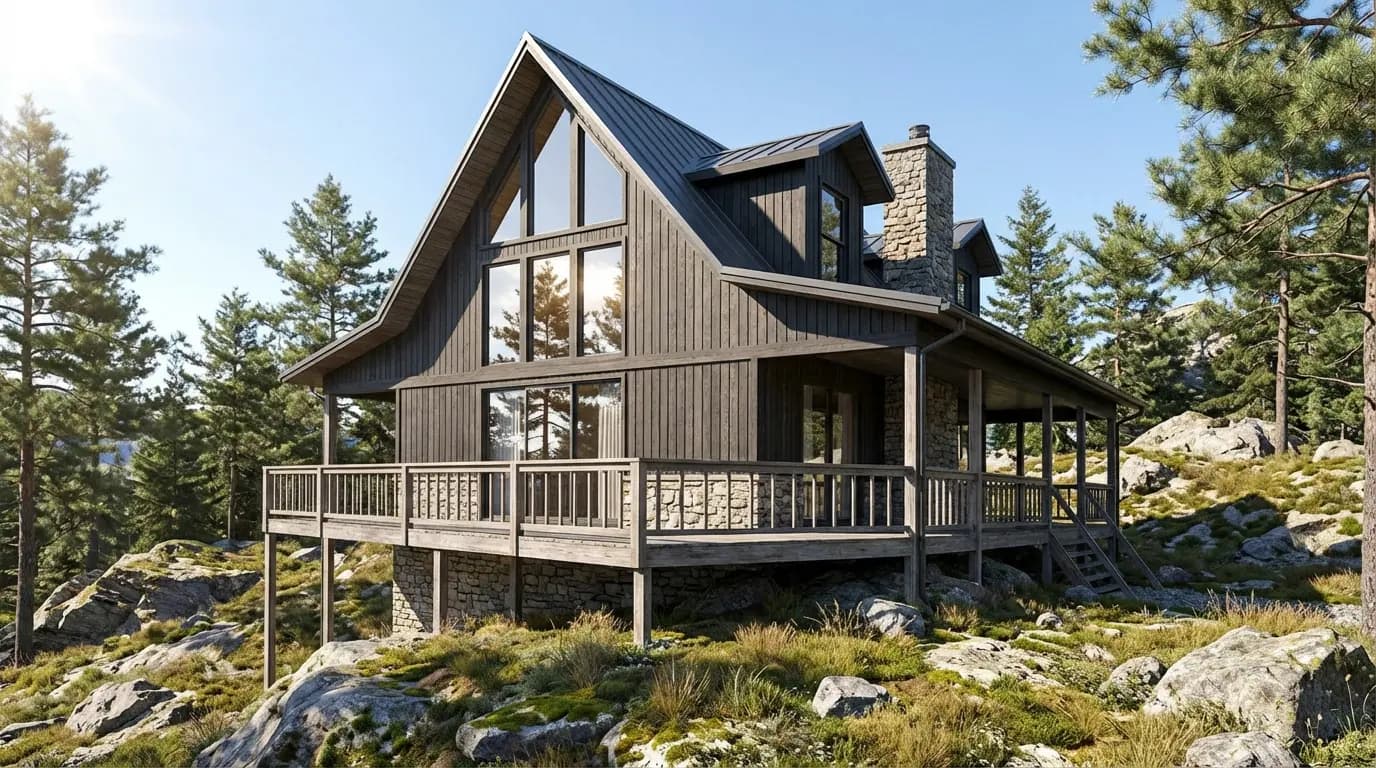
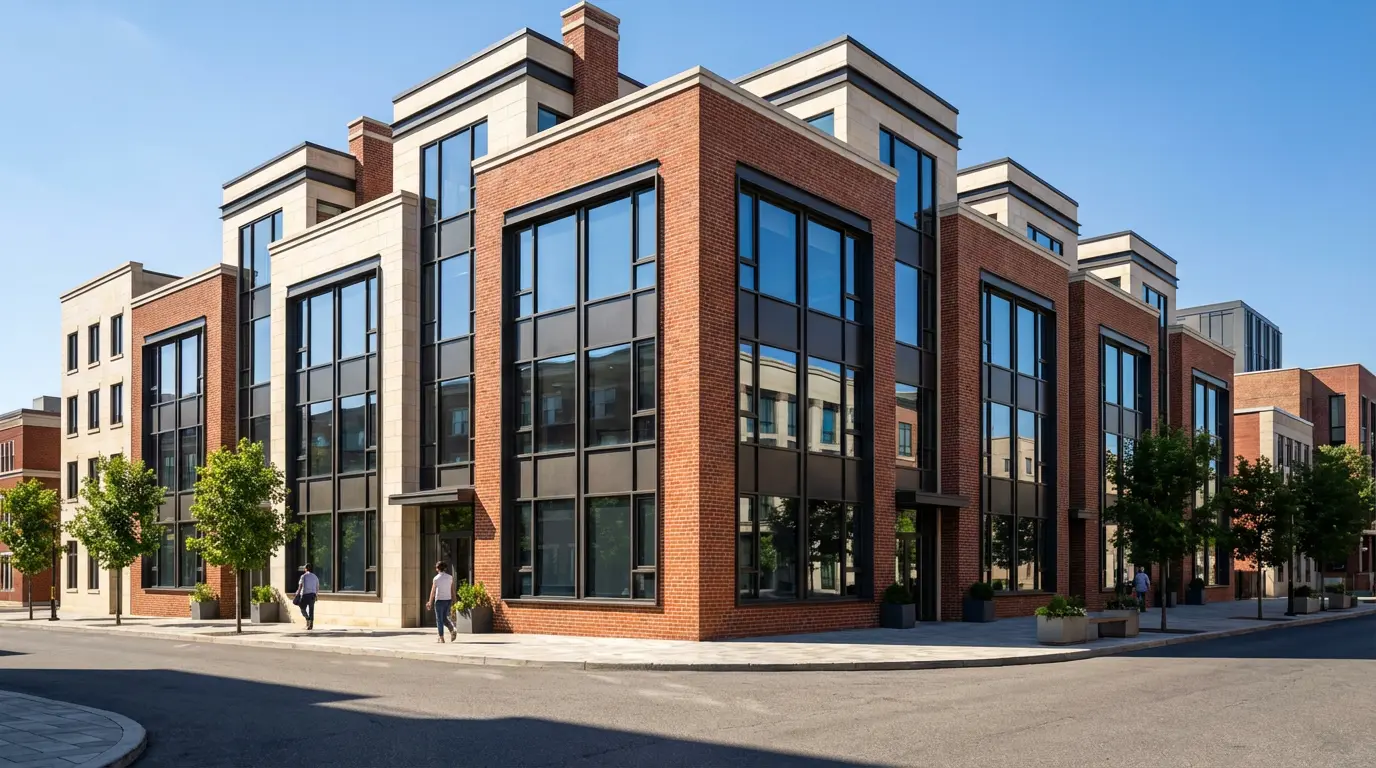
Various architectural styles rendered from concept sketches
Start Transforming Your Sketches Today
The sketch-to-render workflow represents a fundamental shift in how architects and designers can communicate their ideas. What once required specialized software, technical expertise, and hours of processing time can now be accomplished in minutes.
Whether you're a student building your portfolio, a solo practitioner pitching to clients, or a firm looking to accelerate your visualization pipeline—Rendershop makes professional-quality architectural rendering accessible to everyone.
Your next great design is waiting to be visualized. Upload your sketch and see what's possible.
Ready to Transform Your Sketches?
Create a free account and start rendering your architectural sketches today. No credit card required—get 50 free credits to explore all features.
— The Rendershop Team