More than a dozen US states have dramatically loosened ADU permitting rules in recent years, and the results are visible: accessory dwelling units — backyard cottages, garage conversions, basement apartments, detached guest houses — are one of the fastest-growing categories of residential construction. But for most homeowners, the gap between "I want to build an ADU" and "I know exactly what it will look like" is enormous. Architect drawings are technical. Floor plans are abstract. Scale models are expensive. And most people simply cannot translate a two-dimensional elevation into a mental picture of what they'll actually see out their back window.
AI rendering closes that gap. Upload a photo of your existing backyard or garage, describe the ADU you want to build, and within 30 minutes you have a photorealistic image of the finished structure in context with your property. No 3D modeling software, no weeks waiting for a rendering firm, no $1,500 estimate to see what your investment will look like.
Why Visualization Is the Hardest Part of an ADU Project
ADU projects involve an unusually large number of stakeholders who all need to agree on the design — often before a single permit is filed. The homeowner has a vision. A spouse or family member may have a different one. A contractor needs to price something specific. An HOA board has design standards to enforce. A city planning department needs to evaluate how the structure will relate to the neighborhood. A lender financing the project wants to see what they're funding.
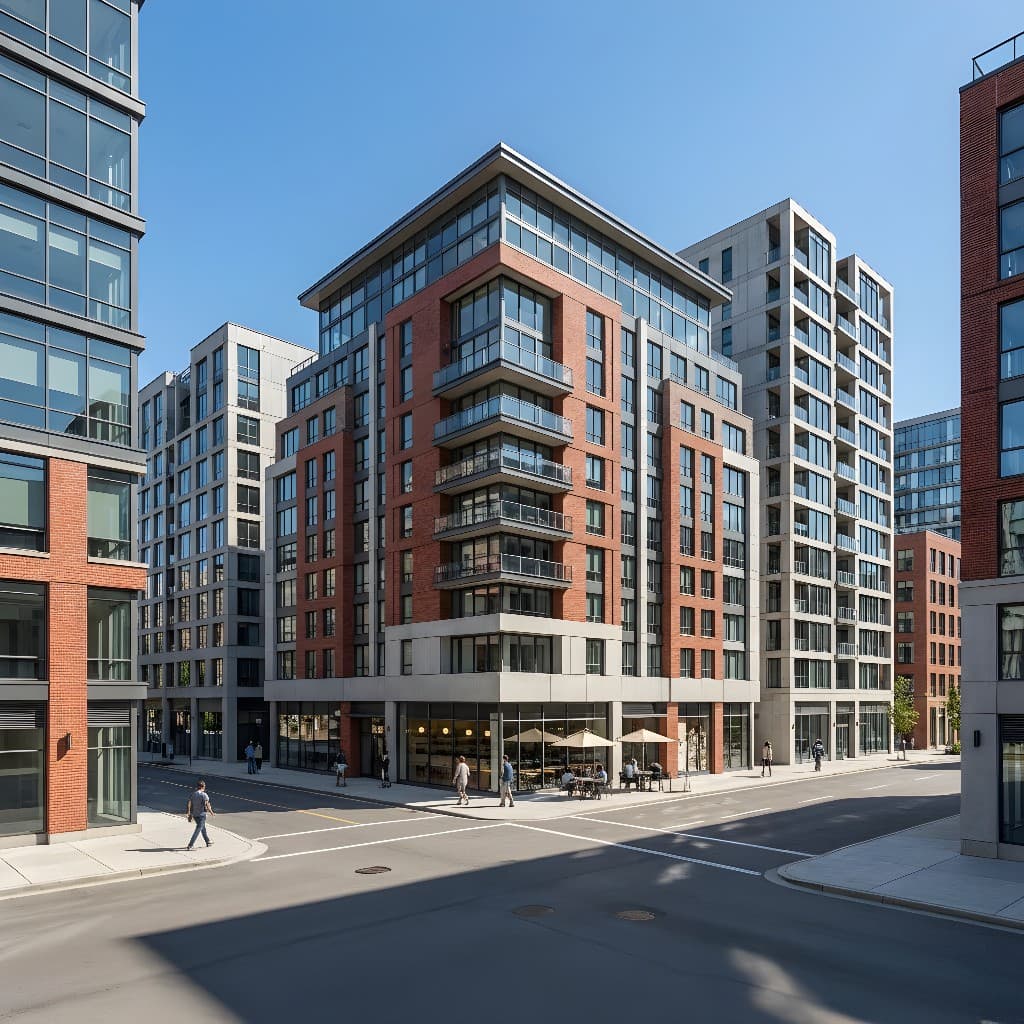
All of these stakeholders respond better to photorealistic images than to line drawings. A planning board that reviews fifty ADU applications a month has seen thousands of elevation drawings — a render that shows the finished cottage with mature landscaping, matching siding, and correct shadow angles stands out and answers questions before they're asked. A homeowner spouse who couldn't engage with a floor plan will immediately have opinions about a photorealistic render. That alignment, reached early, saves weeks of revision cycles later.
Traditionally, getting those renders required hiring an architectural visualization firm or a freelance 3D artist — a process that took one to three weeks and cost $500–$2,500 for a single exterior view. AI rendering has made the same quality of output available in minutes, at a cost that makes sense to revisit and regenerate every time the design changes.
How AI Rendering Works for ADU Projects
AI rendering for ADUs starts with input images that give the model a reference for your specific property. The best input is a photo of the existing space — a backyard, a garage exterior, an unfinished basement stairwell — taken with a modern smartphone. The AI analyzes the spatial geometry: the lot dimensions implied by the scene, the existing structures, the grade and landscaping, the lighting conditions at the time of day the photo was taken.
You then describe — in plain language — the structure you want to visualize. "A 500 sq ft detached backyard cottage with board-and-batten siding, dark gray metal roof, two windows per side, and a covered front porch." On Rendershop, this prompt drives the AI rendering, which places the described structure in perspective within your backyard image and renders it with photorealistic materials, accurate shadows, and correct scale.
You can also start from a sketch or a contractor's hand-drawn elevation, or from a screenshot of a floor plan tool. The AI accepts all of these as input and generates photorealistic exterior or interior renders from any of them. Each iteration — a different siding color, a different roofline, a window added or moved — takes another 15–30 minutes and costs a few dollars, not hundreds.
ADU Types That Benefit Most From AI Rendering
Detached Backyard Cottages
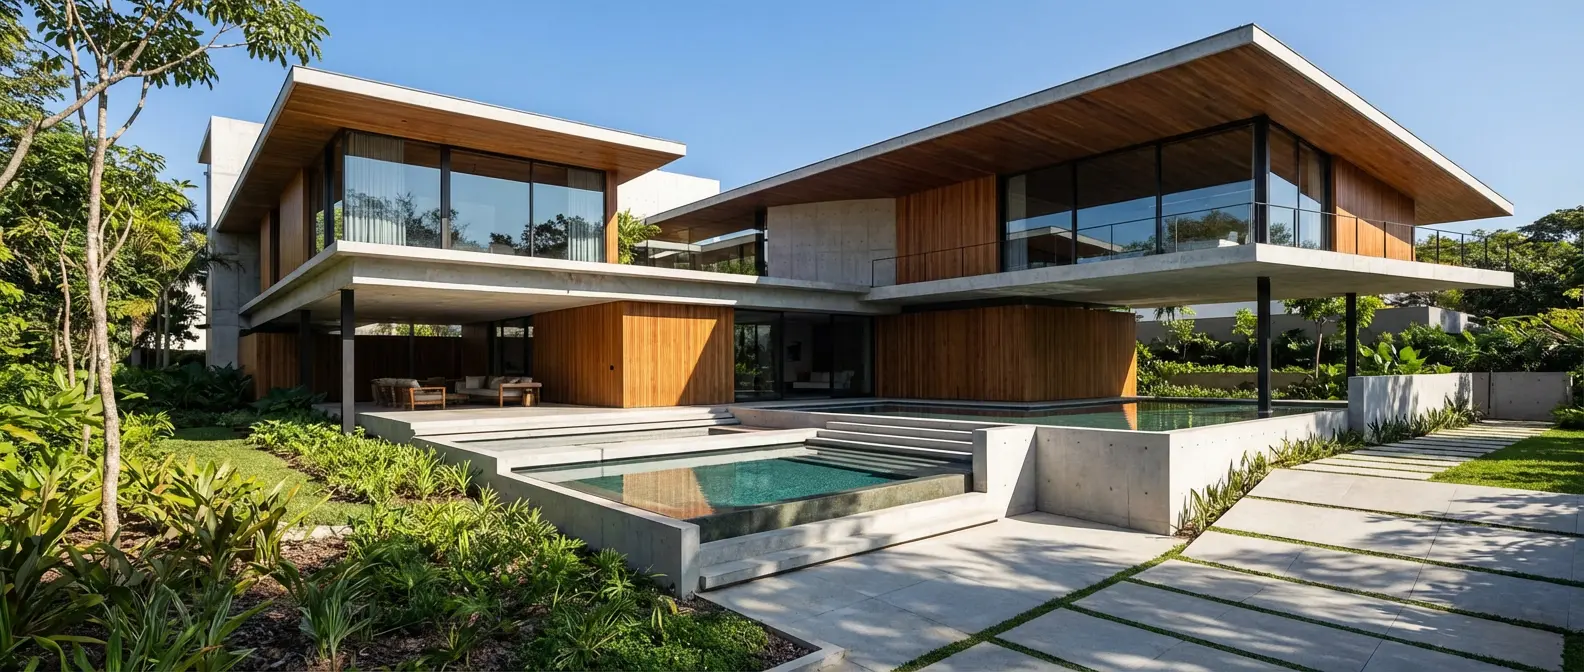
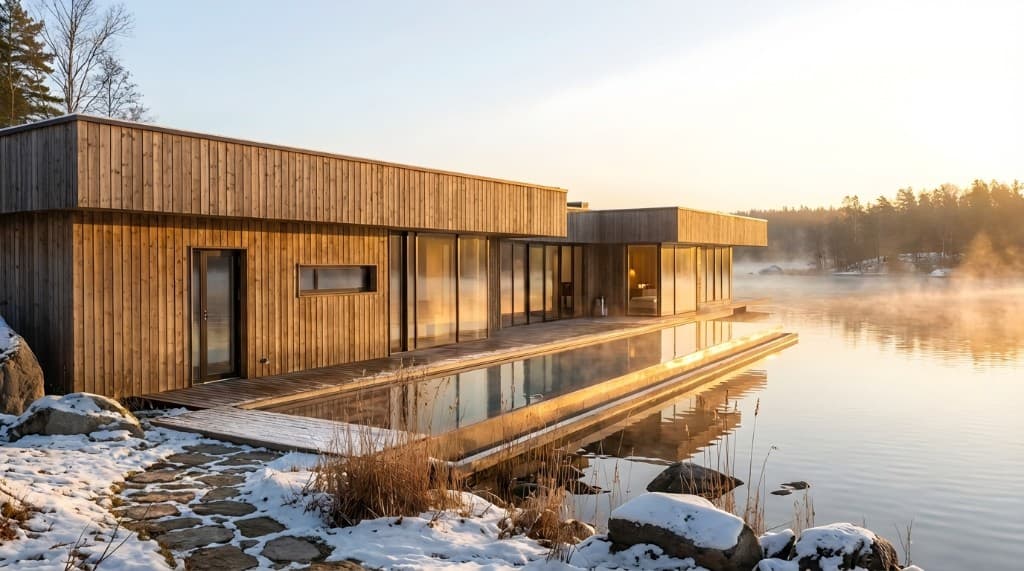
The most visually impactful ADU type — a freestanding structure in the rear yard — is also the hardest to imagine from plans alone. How large will it look relative to the main house? Will it block light to the garden? How will it read from the street? A photorealistic render places the cottage in your actual backyard at the correct proportions, answering all of these questions without breaking ground. You can test different architectural styles — a craftsman cottage, a modern shed-roof box, a Cape Cod peak — and pick the one that fits your property and neighborhood context.
Garage Conversions (JADU/ADU)
Converting an attached or detached garage into a living unit is one of the most cost-effective ADU strategies — but the exterior transformation is hard to communicate to a contractor without a reference image. AI rendering lets you show exactly how the garage door opening should be modified, what the new facade materials should be, and how the converted unit should relate to the main house visually. For detached garage conversions that add a second story or loft, renders showing the height change in context of the property are especially useful for HOA submissions and neighbor conversations.
Basement and Lower-Level ADUs
Basement conversions are often the least expensive ADU option but the hardest to visualize, because the exterior change is subtle — typically a new entrance, window wells enlarged to egress size, and perhaps a separate meter. AI rendering of interior spaces — showing the finished basement as a furnished studio or one-bedroom apartment with natural light from above-grade windows — helps prospective tenants, family members, or lenders understand what the space will feel like to live in. The contrast between a raw basement photo and a rendered furnished living space is compelling.
Attached ADU Additions
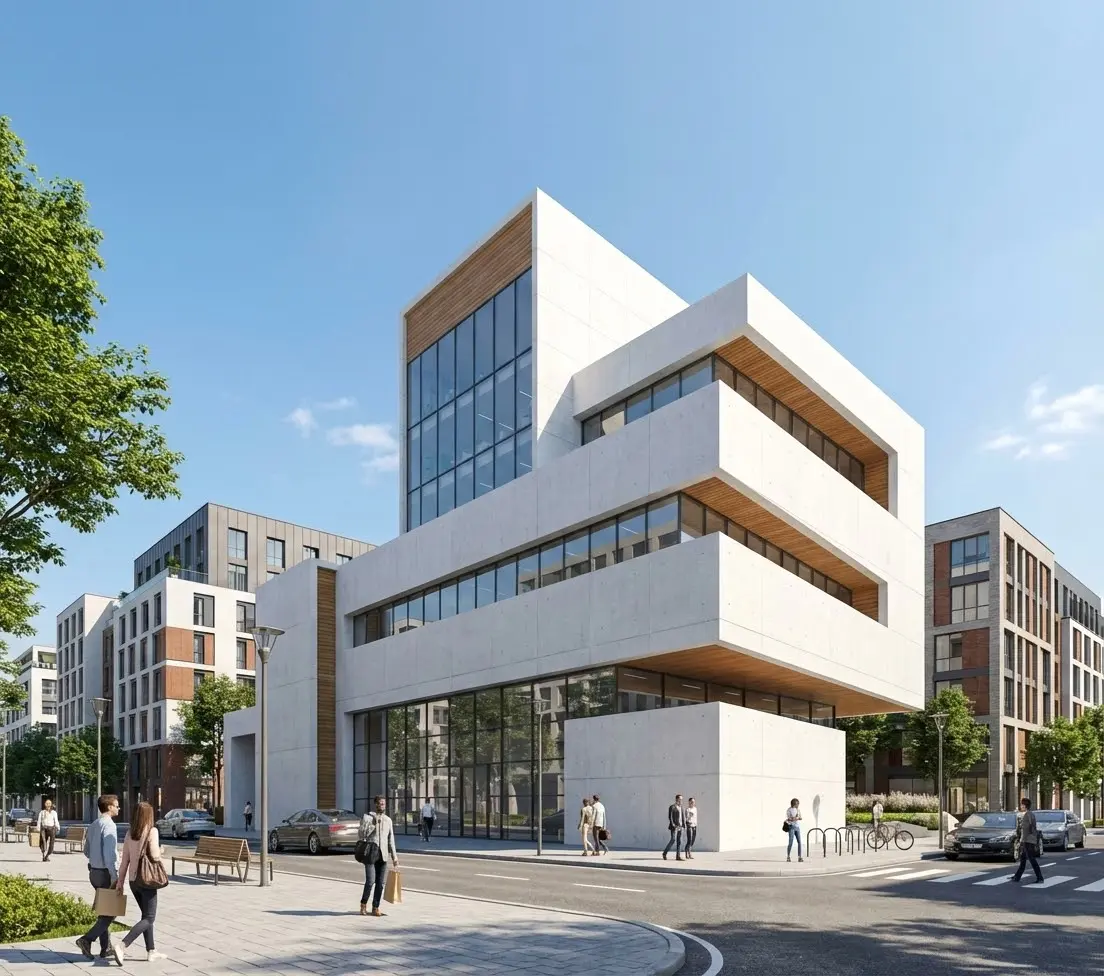
An addition built onto the side or rear of an existing home that functions as a separate unit — with its own entrance, kitchen, and bathroom — is architecturally the most complex ADU type. Getting the massing right, matching the existing roofline and materials, and ensuring the addition doesn't visually overpower the main house requires design judgment that's difficult to communicate through drawings. AI renders of the completed addition from the street elevation and from the rear yard give all stakeholders a shared reference point for these decisions.
Prefab and Modular ADUs
The prefab ADU market has grown rapidly — companies like Mighty Buildings, Abodu, and Maxable offer modular units that can be placed on a prepared foundation in a matter of days. But homeowners still need to see how a specific prefab unit will look on their specific lot, in context with their specific house and landscaping. Manufacturer renderings show the product in isolation; AI rendering shows your actual backyard with the prefab unit placed in it, at the correct orientation and scale.
AI Rendering vs. Traditional Visualization for ADU Projects
| Factor | Traditional 3D Rendering | AI Rendering |
|---|---|---|
| Cost per exterior view | $500–$2,500 | $5–$30 |
| Turnaround time | 1–3 weeks | 15–30 minutes |
| Design iterations | Expensive — each revision costs | Cheap — regenerate as often as needed |
| Input required | Full architectural drawings or 3D model | Photo, sketch, or written description |
| Shown in property context | Sometimes (if site photos provided) | Yes — rendered into your actual lot photo |
| Useful for permitting presentations | Yes | Yes — same photorealistic quality |
| Interior renders available | Yes (additional cost) | Yes — same platform, same workflow |
| Skill required | Hire a professional | Any homeowner or contractor can use it |
An AI-rendered ADU interior — photorealistic finishes, furniture, and lighting generated from basic room dimensions and a style description
How to Use AI Rendering at Each Stage of Your ADU Project
Stage 1: Early Concept Exploration
Before you've hired an architect or a contractor, AI rendering lets you explore options quickly and cheaply. Should the backyard cottage be a simple shed-roof modern box or a more traditional gable structure that matches the main house? Should you convert the garage or build detached? What would a 400 sq ft unit look like compared to 600 sq ft on this lot? You can generate rough renders of each option, share them with your household, and arrive at a direction before spending a dollar on professional services.
Stage 2: Getting Stakeholder and Lender Buy-In
An ADU project almost always requires buy-in from people who aren't the primary decision-maker: a co-owner, a family member who will eventually live in the unit, a bank financing the construction loan. All of these conversations go better with a photorealistic image in hand. "Here's what the finished cottage will look like from the main house" is a more persuasive pitch than "here's a floor plan at 1/4 inch to the foot."
Stage 3: Contractor Selection and Bidding
When soliciting bids, the more specific your documentation, the more accurate and comparable the bids you receive. A photorealistic render showing the exterior materials, window placement, roofline, and finishes — paired with a floor plan — gives contractors something concrete to price against. It eliminates the ambiguity that causes bids to come in at wildly different numbers, and it reduces the chance that the contractor builds something different from what you envisioned.
Stage 4: HOA and Planning Board Submissions
Photorealistic renders are among the most effective tools for ADU approval presentations. A planning department reviewing an infill ADU application responds differently to a color render of the finished cottage in the context of the neighborhood than it does to a set of architectural line drawings — not because the line drawings are less informative, but because the render answers visual questions that drawings require interpretation to answer. The same is true for HOA design review boards, which are often composed of non-designers who genuinely struggle to evaluate elevation drawings.
Our guide to rendering for HOA and zoning board presentations covers exactly how to structure a visual package that speeds approval.
Stage 5: Listing and Marketing (If You Plan to Rent)
If your ADU is intended as a rental unit, AI rendering is useful even before construction is complete. You can create listing-quality interior renders of the finished unit — furnished, with natural light from the actual window positions in your plans — and post them to Zillow or Apartments.com months before the unit is ready. Pre-leasing an ADU before completion means zero vacancy on day one.
Tips for Getting the Best AI Renders of Your ADU
The quality of an AI render depends heavily on the quality of your input. For ADU exterior renders, a clear daylight photo of the actual location — taken from the angle where the ADU will be most visible — gives the AI the spatial context it needs to place the structure accurately. For the best results:
- Shoot in full daylight.Morning or afternoon light gives clear shadows that help the AI understand the three-dimensional space. Overcast light is acceptable; night and dusk photos make it hard for the AI to read the geometry.
- Show as much of the lot as possible.Step back and get the full width of the backyard in frame, including the fence lines and any existing structures. The more spatial context the image contains, the more accurately the AI can scale the ADU.
- Be specific in your prompt.Include material descriptions (board-and-batten cedar siding, standing seam metal roof), dimensions (approximately 20 ft wide by 30 ft deep), and any features you want to see (covered entry porch, double-pane casement windows, exterior sconce lighting).
- Generate multiple style options.At the cost of AI rendering, there's no reason to commit to one design before you've seen several. Generate a modern interpretation and a craftsman interpretation of the same footprint and let the visuals drive the decision.
- Use interior renders too.Exterior renders answer "what will it look like from outside?" Interior renders answer "what will it be like to live in?" Both matter — especially if family members will occupy the unit or if you're pre-leasing to a tenant.
For a deeper guide to taking the source photos that produce the best AI rendering results, see our post on exterior AI rendering from elevation drawings and site photos.
Frequently Asked Questions
Can I use a photo of my actual backyard for an AI rendering?
Yes — and that's the recommended approach for ADU renderings. A photo of your existing backyard, taken from the angle where the ADU will be most visible, gives the AI model spatial context to place the structure at accurate scale and in correct perspective. The result shows your actual property with the proposed ADU added, rather than a generic lot. Smartphone photos taken in daylight work well; you don't need a professional camera.
How accurate is the AI render compared to the finished ADU?
AI renders are accurate at the level of overall massing, material appearance, window proportions, and site context — which is exactly what most stakeholders need to evaluate. They're not construction documents: precise dimensions, structural details, and code compliance require professional architectural drawings. Think of AI renders as high-quality concept visualizations, not technical specifications. The materials and exterior character will closely match a well-prompted render; the exact window trim profile or fascia detail may vary depending on what your contractor sources.
Will an AI render help with my ADU permit application?
Many jurisdictions accept photorealistic color renderings as supplemental materials in ADU permit packages, and planning staff respond well to them — they help reviewers quickly understand what the finished project will look like in the neighborhood context. AI renders are typically not a substitute for the required architectural drawings (site plan, floor plans, elevations, cross-sections), but they complement those documents effectively. Check with your local planning department about what supplemental visuals are accepted or recommended.
What architectural styles can AI rendering produce for an ADU?
AI rendering can produce virtually any architectural style: modern/contemporary, craftsman, farmhouse, mid-century, Spanish Colonial, Cape Cod, Mediterranean, Scandinavian, industrial, and more. You specify the style in your prompt, along with the materials you want (wood siding, stucco, fiber cement, brick, metal panel, etc.), and the AI generates the render accordingly. It's easy to compare how the same footprint would look in two or three different styles — something that would cost thousands and take weeks with traditional rendering.
How much does AI rendering cost for an ADU project?
On Rendershop, individual renders cost a few dollars each. For a typical ADU project, you might generate five to ten exterior renders (different angles, different style options) and three to five interior renders — a total of $30–$100 for a full visual package that covers concept exploration, stakeholder alignment, contractor briefing, and permit submission. Compare that to $1,500–$5,000 for the same deliverables from a traditional architectural visualization firm. See our pricing page for current rates.
See Your ADU Before You Build It
The most common reason ADU projects stall in the early stages isn't permitting or financing — it's alignment. The homeowner and their family can't agree on the design. The contractor gives a vague bid because the scope isn't clear. The HOA sends a revision request because the board can't visualize the structure from the elevation drawing. All of these friction points dissolve when everyone is looking at the same photorealistic image.
AI rendering makes that image available at the earliest stage of a project, for the cost of a few cups of coffee, with the ability to iterate as many times as needed until the design is right. It's the single highest-value tool most ADU builders aren't using yet.
Whether you're planning a backyard cottage, a garage conversion, or a basement apartment, Rendershop's AI rendering tools let you see the finished result before a permit is filed — and keep every stakeholder pointing in the same direction throughout the project.
Visualize Your ADU in 30 Minutes
Upload a photo of your property and get a photorealistic render of your planned ADU — ready to share with contractors, family, and planning boards.
— The Rendershop Team