If you've ever sat through a homeowners association hearing or a zoning board meeting, you know the room's default mood is skeptical. Board members and community reviewers are protecting the visual character of a neighborhood. Their job is to imagine what your project will look like when it's built — and if they can't form a clear mental picture, they vote no.
That's where a strong rendering changes everything. A photorealistic image of your finished project answers every visual question in the room before it's asked. It shows neighbors and board members exactly what they're approving — the roofline, the materials, the landscaping, how it sits relative to adjacent properties. Done well, a rendering converts a room full of anxious "what will this look like?" into a confident "this looks fine."
With AI rendering tools like Rendershop, you no longer need a professional 3D studio or a week of turnaround time to produce this kind of image. In this guide, we'll walk through exactly what approval boards respond to, how to prepare your input materials, and how to structure your presentation for the best shot at a fast approval.
Why Boards Reject Projects — and What Renderings Fix
Most HOA and zoning denials don't come down to code violations. They come down to uncertainty. When board members can't visualize the finished project, they imagine the worst. A two-story addition described in elevation drawings looks very different in a photorealistic rendering of the actual streetscape.
The most common objections that visuals directly address:
- Scale concerns: "Will this tower over the neighboring houses?" A rendered streetscape with adjacent properties in frame answers this definitively.
- Material compatibility: "Will the siding match the neighborhood character?" A render showing your exact proposed materials puts this to rest.
- Massing and bulk: Boards often object to additions that look too large in drawings but read very differently in context. A three-dimensional render in the real setting shows true scale.
- Landscaping and screening: Proposed fencing, hedges, and plantings look abstract on a site plan. Rendered, they show the actual privacy buffer being provided.
- Lighting and shadow impacts: For rooftop additions or taller structures, a rendering at different times of day demonstrates shadow reach without technical diagrams.
In short: drawings tell boards what you plan to build. Renderings show them what the neighborhood will look like when you do. One requires imagination; the other requires only eyes.
What to Include in an Approval-Ready Rendering Package
A single hero image rarely closes the deal. Boards want to understand the project from multiple perspectives. Here's the minimum rendering package for a residential addition or new construction going before an HOA or planning board:
1. Street-Facing Elevation in Context
Your primary render should show the property from the street, with at least one neighboring structure visible on each side. This is the view that matters most to a board protecting neighborhood character. Render in daylight — overcast or golden hour — so the materials read clearly without dramatic shadow drama.
2. Aerial or 3/4 View
A slightly elevated 3/4 angle shows massing, roof form, and the relationship between the addition and the existing structure in a way that straight elevations can't. This is especially useful for additions, ADUs, and detached garages.
3. Material Close-Up or Callout Rendering
For projects where material compatibility is the main concern — matching stucco, siding, or roofing to an existing structure — a close-up render or material detail image makes the match concrete. Boards respond to seeing the actual proposed materials rendered rather than reading a spec sheet.
4. Before/After Composite (Optional but Powerful)
A side-by-side of the existing property photo and the proposed rendering is one of the most persuasive tools available. It shows exactly what changes and — crucially — what stays the same. This works especially well when the addition is modest relative to the existing structure.
Technical Drawings vs. AI Renderings for Approval Presentations
Most applicants show up to HOA and zoning meetings with elevation drawings, site plans, and maybe a floor plan. Here's how that compares to a rendering-supported presentation:
| Factor | Technical Drawings Only | AI Renderings + Drawings |
|---|---|---|
| Board comprehension | Requires training to interpret | Immediately legible to any viewer |
| Material visualization | Material notes only; abstract | Rendered with realistic texture and color |
| Neighborhood context | Property line only; no neighbors shown | Adjacent homes, landscaping, streetscape |
| Objection surface | High — imagination fills gaps with fear | Low — unknowns are already answered |
| Approval round count | Often requires 2–3 hearings | Frequently approved in first hearing |
| Production time | Days to weeks (traditional CGI) | Under an hour with AI rendering |
| Cost | Included in architect fees | Minimal add-on with AI tools |
How to Create HOA and Zoning Board Renderings with Rendershop
You don't need a 3D model, a CAD file, or a professional rendering studio. The fastest path to approval-ready imagery starts with a good photo of the existing property and a clear description of the proposed changes.
Step 1: Photograph the Existing Property
Take a straight-on front elevation photo and a 3/4 angle photo from the street. Shoot in flat, overcast light if possible — midday with clouds — so there are no harsh shadows confusing the facade. Make sure neighboring structures are visible in at least one shot.
Photo checklist:
- Shoot from street level, not from a raised angle
- Include the full facade — no cropped rooflines
- Capture existing landscaping and driveway
- Include neighboring properties in at least one shot
- Avoid cars, trash cans, or obstructions in the foreground
Step 2: Upload and Describe the Proposed Changes
Upload your photo to Rendershop and write a prompt that describes the addition or modification as specifically as possible. This is the most important step — the more precise your prompt, the closer the render will be to your actual proposed design.
Example Prompts for HOA Submissions:
Second-story addition:
"Add a second story to this single-story home matching the existing beige stucco exterior and brown clay tile roof. New story should set back 3 feet from the front facade. Maintain existing windows and garage on ground floor. Natural daylight, residential neighborhood context."
ADU / detached garage:
"Add a detached 2-car garage with accessory dwelling unit above in the rear yard. Matching white board and batten siding and dark metal roof to main house. Include landscaping buffer along fence line. View from driveway looking toward rear."
Fence or privacy screen:
"Add a 6-foot horizontal cedar privacy fence along the left property line. Natural wood finish, modern horizontal plank style. Keep existing front yard landscaping visible. Sunny afternoon lighting."
Step 3: Generate Multiple Variations
Produce 3–4 variations at slightly different angles or with minor prompt adjustments. This gives you options to choose the most persuasive view — and gives the board the sense that the project has been thoroughly studied. See our guide to writing effective AI rendering prompts for tips on getting consistent, high-quality outputs.
Step 4: Annotate and Package
Export your renders and add simple annotations in a presentation tool — call out the proposed materials, label the addition footprint, note setback compliance. Boards appreciate when the applicant makes their job easy. A one-page summary sheet with the rendering, a before photo, and three bullet points about materials and dimensions is often more effective than a thick packet.
Tailoring Renderings to Each Approval Context
HOA Architectural Review Committees
HOA committees are primarily concerned with visual consistency — does the addition match the community's design standards? Your renders should emphasize material match (roof tile, siding, trim color) and scale relative to neighbors. If the HOA has a design guidelines document, match your rendering to those standards explicitly and call it out in your presentation.
Municipal Zoning Boards
Zoning hearings often involve public comment from neighbors. Your renders serve double duty: convincing the board and reassuring adjacent property owners. Include a view from the neighbors' perspective — what will they see from their backyard, their front yard, or their upstairs window? Proactively showing this is far better than having a neighbor raise it as an objection.
Planning Commissions for New Construction
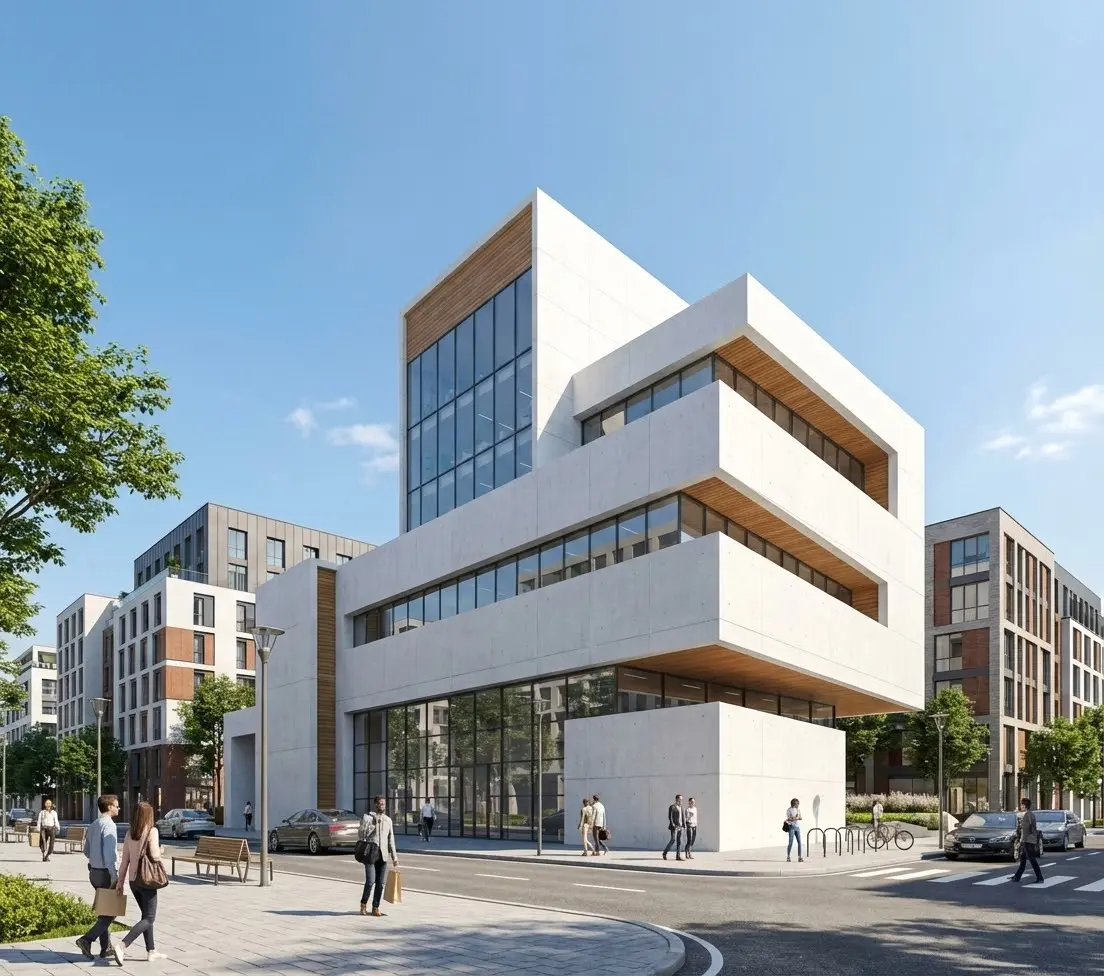
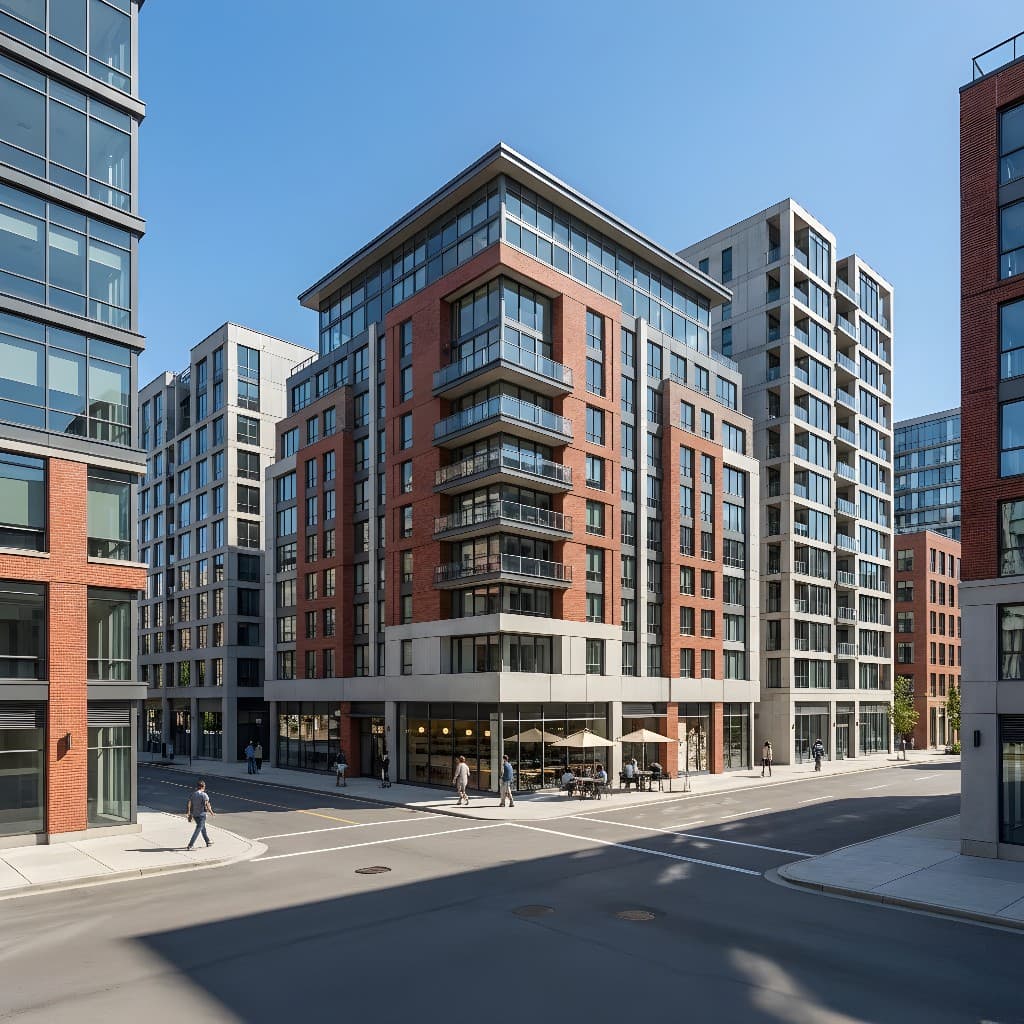
For new residential or commercial development going before a planning commission, renderings need to show the project in its full neighborhood context. This is the scenario where a pre-construction rendering package pays off most — multiple views, a streetscape view showing surrounding properties, and ideally a rendered site plan. For commercial projects, also consider a twilight render showing the building lit at night, which is often requested by planning commissions concerned about signage and lighting impacts.
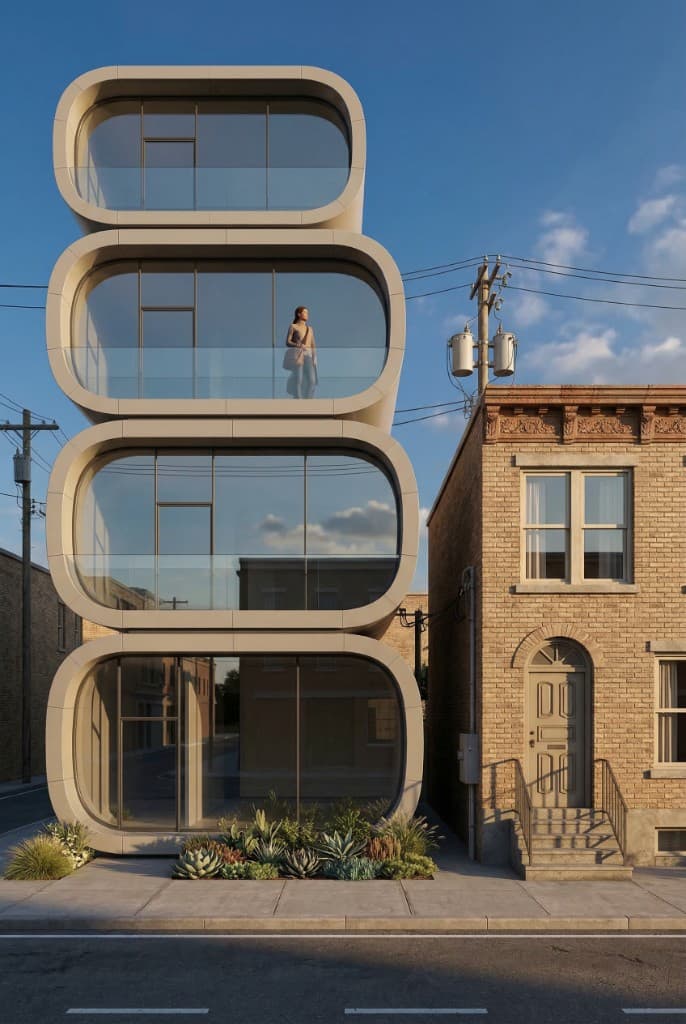
A photorealistic AI render gives planning boards a concrete, unambiguous view of the proposed project
Common Rendering Mistakes That Hurt Approval Odds
- Rendering the ideal version, not the proposed version. If your rendering shows lush mature trees that won't exist for 15 years, or a material finish that's slightly different from what you're actually submitting, a sharp board member will catch it and question your credibility. Render what you're actually proposing.
- Isolating the project from its context. A rendering that shows only the property against a white background answers no neighborhood-compatibility questions. Always include context — the street, neighboring structures, existing landscaping.
- Using dramatic lighting that obscures materials. A sunset render might look beautiful, but if it makes your roofing material hard to identify, choose a cleaner daylight render for the submission. Save the twilight render as a supplemental image if the board seems receptive.
- Skipping the before photo. Without a before/after comparison, boards have to remember what the existing property looks like. A side-by-side removes that cognitive burden and shows restraint — proving you're not making a dramatic change.
Frequently Asked Questions
Do HOAs actually require renderings, or are drawings enough?
Most HOAs and zoning boards accept technical drawings as the minimum submission requirement. Renderings are supplemental — but they're increasingly common and often the deciding factor. Many applicants with straightforward projects get denied because the board couldn't visualize the outcome. A rendering eliminates that risk at minimal cost.
Can AI-generated renderings be used for official submissions?
In most jurisdictions, renderings are considered illustrative materials, not architectural documents. There is no requirement that renderings be produced by a licensed professional. AI-generated renderings are being accepted by HOAs and planning boards across the country as supplemental presentation materials. Check your specific board's submission guidelines if in doubt.
How accurate does the rendering need to be?
The rendering should accurately represent your proposed materials, approximate massing, and the project's relationship to adjacent structures. It does not need to be dimensionally precise — boards understand that an illustrative rendering is not a construction document. However, if the finished project looks substantially different from the rendering you submitted, that can create issues down the line. Aim for honest representation, not idealized marketing.
How many views should I include in my submission?
For most residential projects, two to three views are ideal: a straight street-facing elevation, a 3/4 angle, and optionally a view from a neighbor's perspective if there is an adjacency concern. More than four or five views can overwhelm the board and dilute the impact of your strongest images. Lead with your best render and make it large.
What if I need to revise the design after the first hearing?
This is where AI rendering pays off most. If a board requests a material change, a setback adjustment, or a roofline modification, you can produce a revised render in under an hour and return to the next meeting with updated imagery. Traditional 3D rendering revision turnarounds are measured in days; AI rendering revisions take minutes.
Walk Into Your Next Approval Meeting Ready to Win
The math on approval renderings is simple: a $25 rendering that gets your project approved at the first hearing saves you thousands in resubmission fees, additional architect time, and delayed construction starts. It also builds your credibility with the board as an applicant who respects their process.
Whether you're a homeowner navigating an HOA addition, an architect preparing a zoning variance, or a developer presenting to a planning commission, Rendershop can turn your existing photos and design notes into board-ready imagery in under an hour. See our full feature set to learn about rendering modes, editing tools, and how Rendershop fits into your approval workflow.
The board room doesn't have to be adversarial. Show them exactly what you're building — in a way they can actually see — and most of them will say yes.
Ready to Build Your Approval Package?
Create a free Rendershop account and upload your first property photo today. Get photorealistic renderings of your proposed project in minutes — no 3D modeling, no expensive CGI studio required.
— The Rendershop Team