If you've ever wanted to turn a sketch or design idea into a photorealistic image but felt intimidated by traditional rendering software like V-Ray, Enscape, or Lumion, you're not alone. These tools are powerful — but they come with steep learning curves, expensive licenses, and render times that can stretch into hours.
AI rendering flips the script entirely. With tools like Rendershop, you can upload a sketch, type a few words describing what you want, and get a stunning, photorealistic render back in seconds. No 3D modeling. No material libraries. No waiting.
This guide covers everything a beginner needs to know about AI rendering — what it is, how it works, why it matters, and a step-by-step walkthrough to create your first render.
What You'll Learn:
1. What is Rendering?
Rendering is the process of generating a photorealistic image from a design. In architecture, this means taking a 2D sketch, 3D model, or CAD drawing and turning it into a visual that looks like a real photograph — complete with accurate lighting, materials, shadows, and environmental context.
Think of rendering as the bridge between design and reality. A floor plan tells you how a building is laid out. A render shows you how it will feel to stand in front of it. That's why renders are essential for client presentations, marketing materials, and design review.
Traditionally, creating a high-quality architectural render required:
- Building a detailed 3D model in software like SketchUp, Revit, or Rhino
- Applying materials, textures, and lighting manually
- Configuring camera angles and render settings
- Waiting minutes to hours for the render engine to process
- Post-processing in Photoshop for final touch-ups
This workflow works, but it demands significant time, skill, and software investment. That's where AI rendering comes in.
2. What is AI Rendering?
AI rendering uses artificial intelligence — specifically neural networks trained on millions of architectural images — to generate photorealistic visuals from simple inputs. Instead of manually configuring every material, light source, and texture, you provide the AI with a starting point (a sketch, photo, or text description) and it handles the rest.
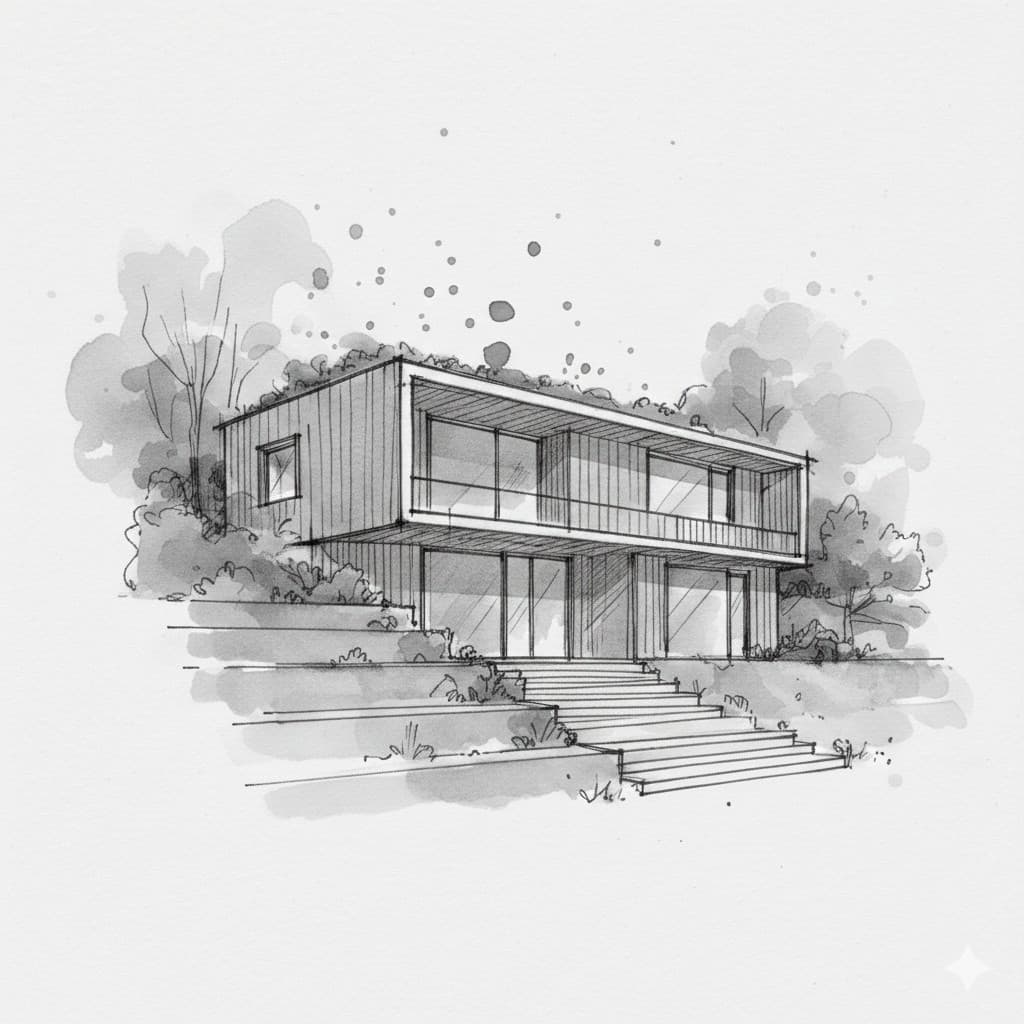

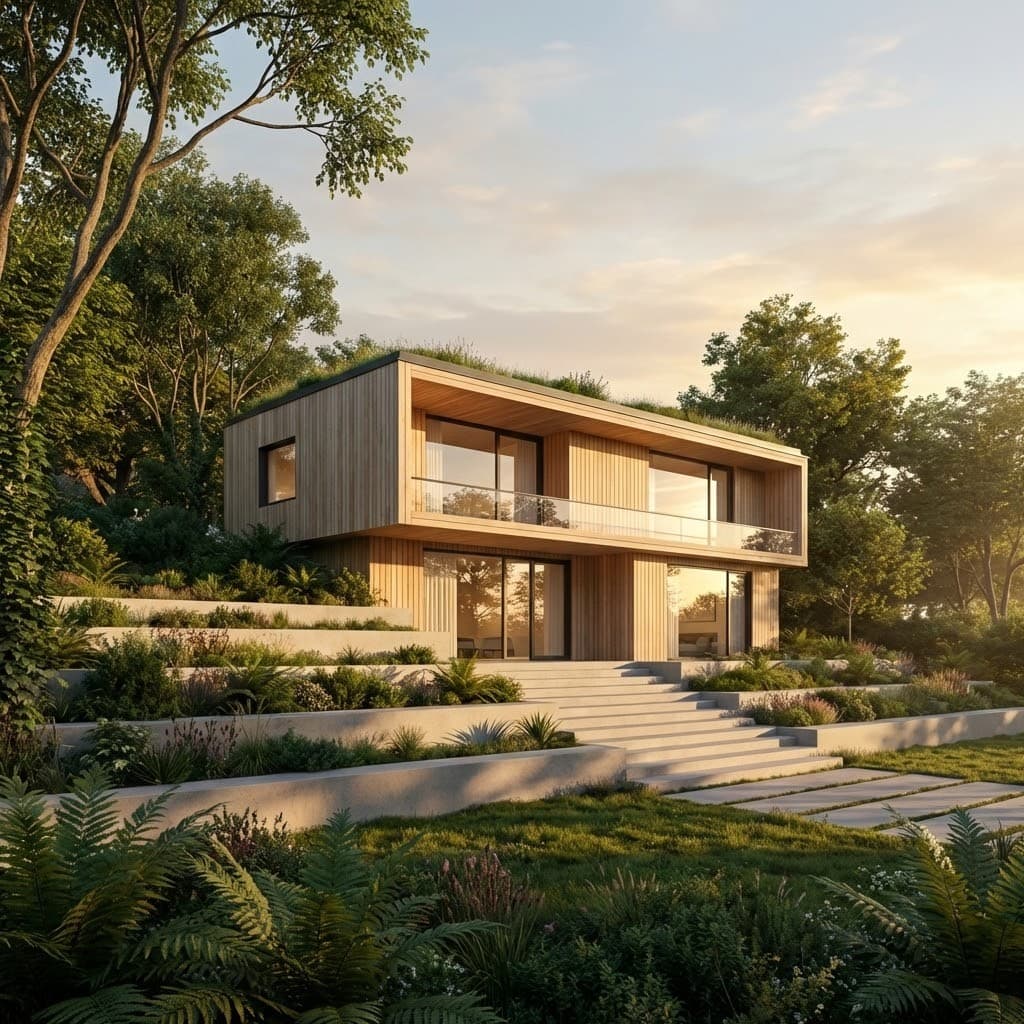
A simple architectural sketch transformed into a photorealistic render in seconds
The AI has learned what real buildings look like — how light interacts with different materials, how shadows fall at different times of day, how landscaping frames a building. It applies this knowledge to your input, generating a render that looks like it came from a professional visualization studio.
The key difference: you don't need to know how rendering works to get professional results. You just need a design and a few words describing what you want.
3. AI Rendering vs Traditional Rendering
Both approaches produce photorealistic images, but the workflow, cost, and skill requirements are dramatically different:
| Traditional Rendering | AI Rendering | |
|---|---|---|
| Time per render | 30 min – several hours | Seconds to minutes |
| Skill required | Advanced 3D modeling + rendering | Upload an image + type a prompt |
| Software cost | $500 – $5,000/year | Free to start (50 credits) |
| Hardware needed | Powerful GPU workstation | Any device with a browser |
| Input required | Detailed 3D model | Sketch, photo, or text prompt |
| Iterations | Re-render each change (slow) | Generate variations instantly |
This doesn't mean traditional rendering is obsolete. For complex projects requiring precise geometry and exact specifications, dedicated rendering software still has its place. But for concept visualization, client presentations, marketing materials, and design exploration, AI rendering is faster, cheaper, and more accessible.
4. Why Use AI Rendering?
Speed
The most obvious benefit is speed. What used to take hours now takes seconds. This means you can generate renders during a client meeting, explore multiple design directions in a single afternoon, and iterate on ideas without waiting for render queues to clear.
Accessibility
You don't need years of experience with 3D software to create a professional render. If you can take a photo of your sketch and type a sentence describing what you want, you can use AI rendering. This opens up photorealistic visualization to architects, students, real estate agents, homeowners, and anyone with a design idea.
Cost
Traditional rendering setups (software licenses, GPU workstations, or outsourced rendering services) cost thousands of dollars. AI rendering tools like Rendershop let you start for free with 50 credits and scale up affordably. No hardware investment required — everything runs in the cloud.
Quality
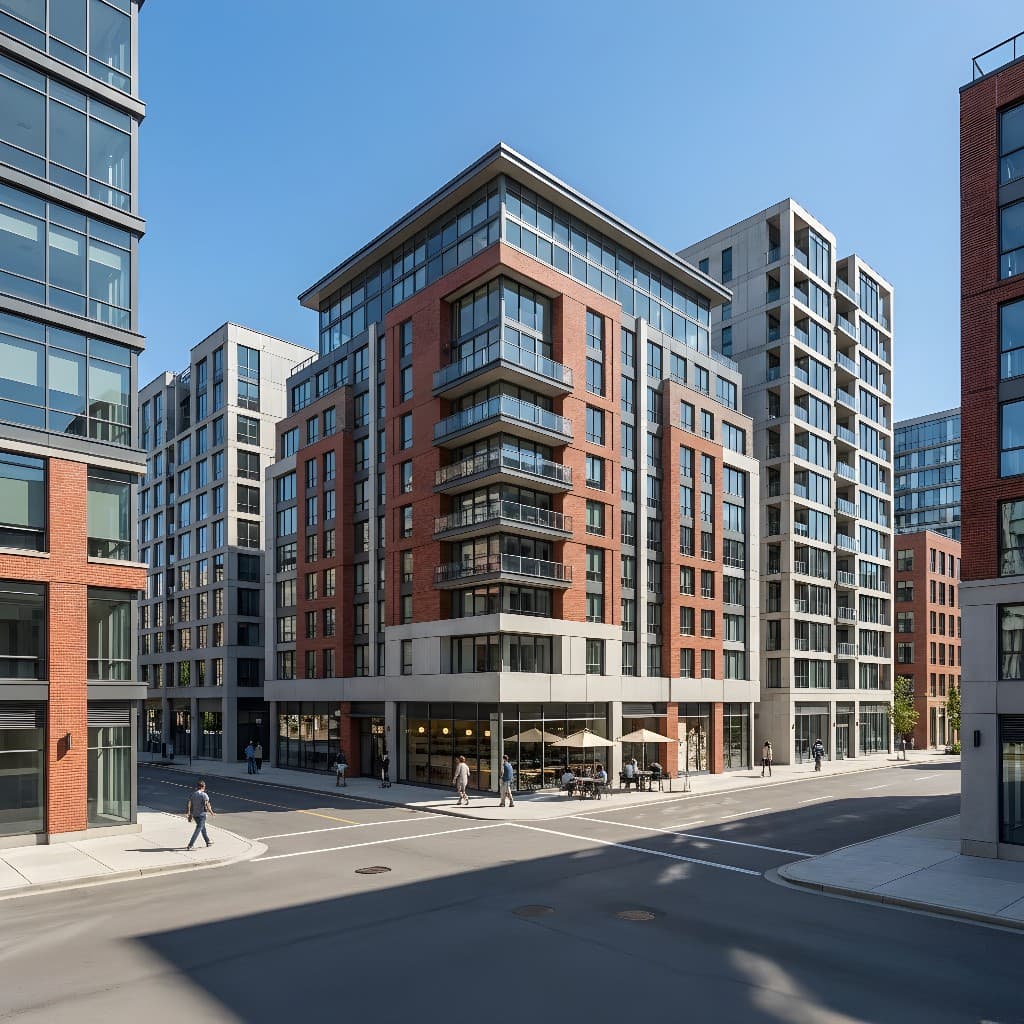
Modern AI rendering produces results that rival professional visualization studios. The output is suitable for client presentations, real estate listings, marketing brochures, and portfolio work. And because you can generate multiple variations quickly, you're more likely to find the perfect result.
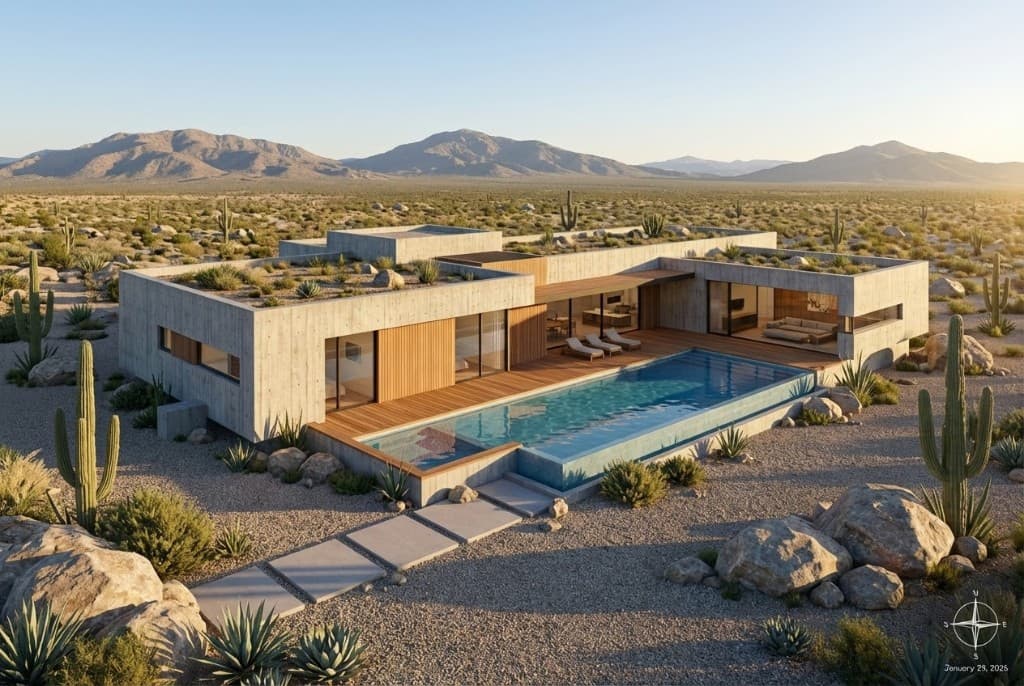
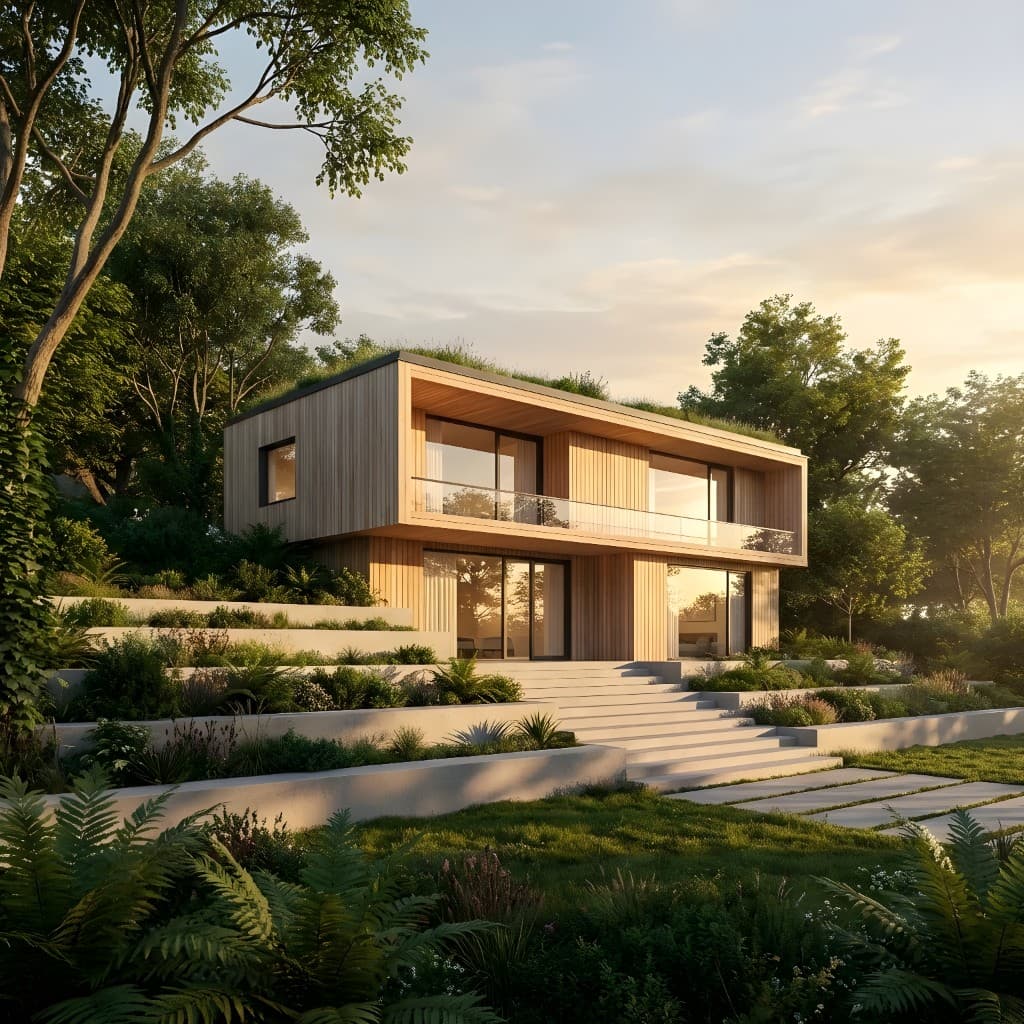
AI renders deliver photorealistic quality suitable for professional presentations
5. How to Create Your First AI Render (Step by Step)
Here's a practical walkthrough using Rendershop. The entire process takes about 2-5 minutes from start to finish.
Step 1: Create a Free Account
Sign up at rendershop.ai. You'll get 50 free credits immediately — no credit card required. Each render uses one credit, so you have plenty to experiment with.
Step 2: Prepare Your Input
You can start with almost anything:
- A hand-drawn sketch — snap a photo with your phone
- A CAD drawing or elevation — export as a PNG or JPG
- A 3D model screenshot — from SketchUp, Revit, Rhino, etc.
- An existing photo — of a building you want to redesign
- Just a text prompt — describe the building in words
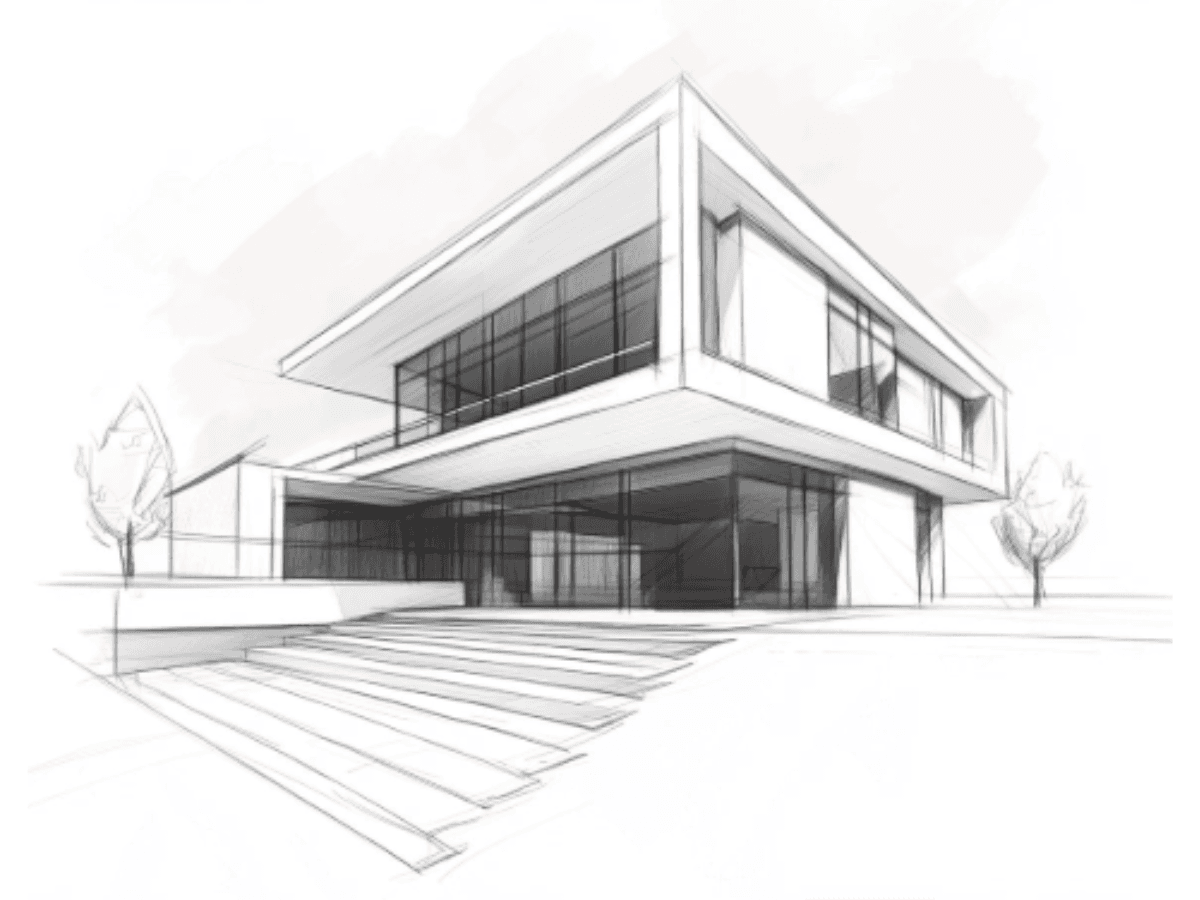
Upload any sketch, CAD drawing, or photo as your starting point
Step 3: Choose Your Style and Settings
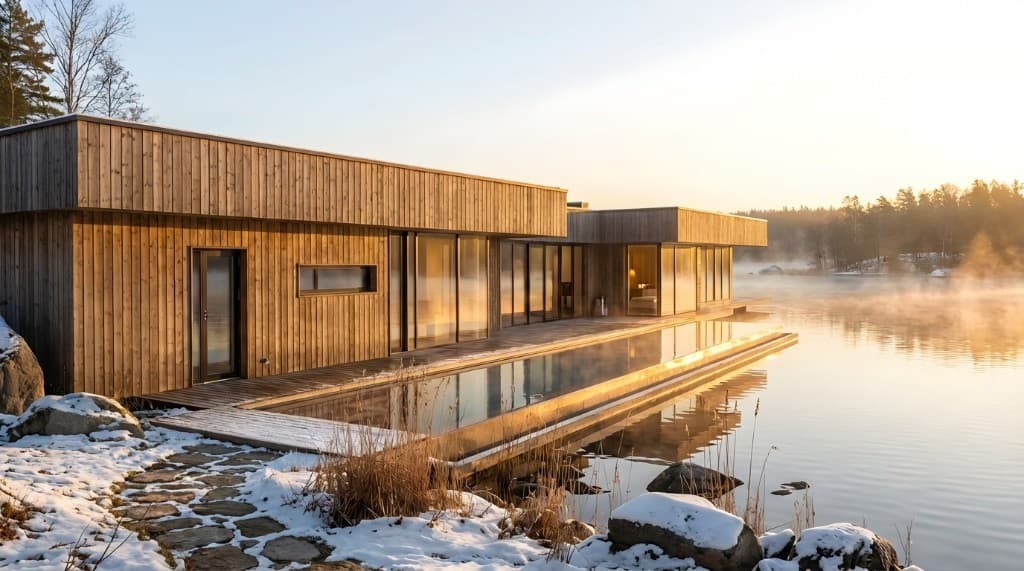
Select the architectural style you want — modern, traditional, Mediterranean, Scandinavian, industrial, and more. You can also specify materials, lighting conditions (golden hour, overcast, twilight), and the level of detail you want in the output.
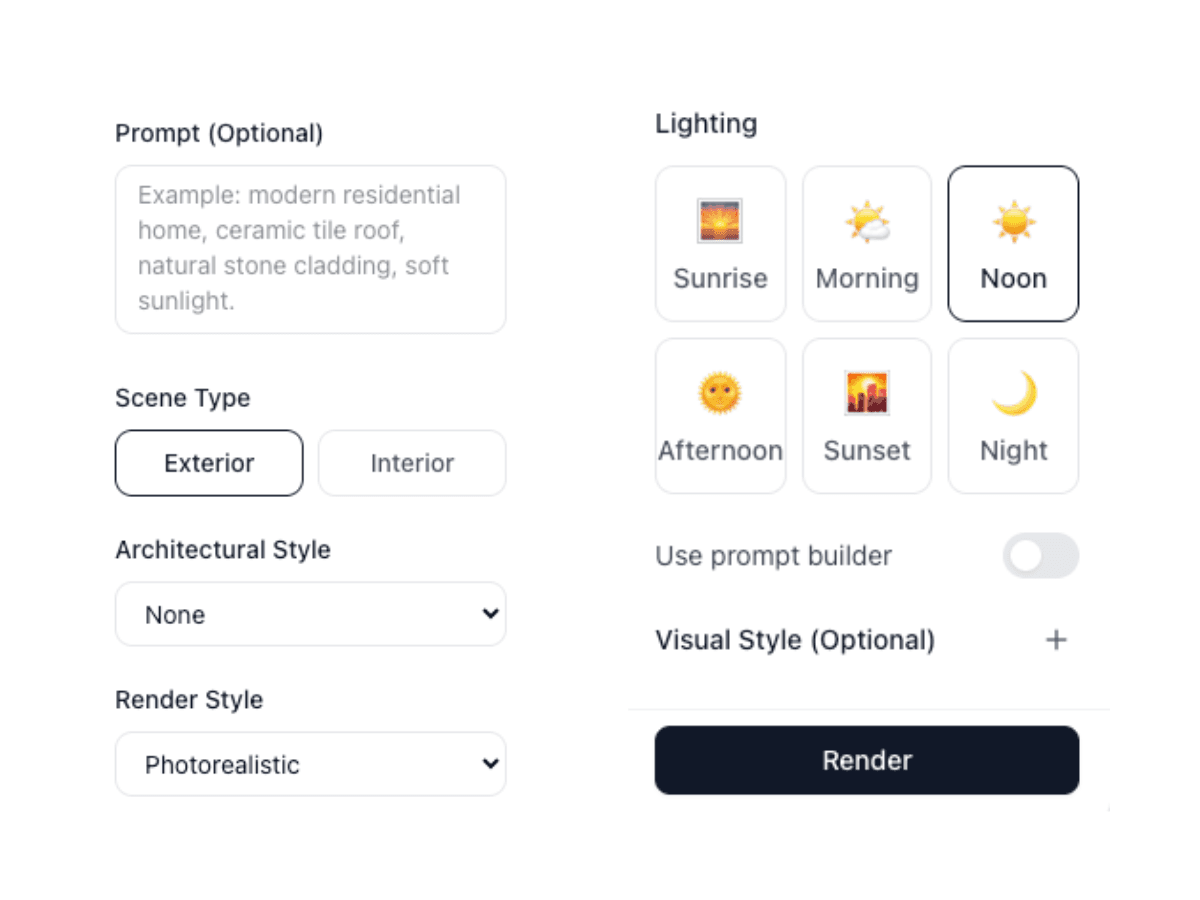
Select your preferred architectural style and rendering settings
Step 4: Generate Your Render
Click generate and wait a few seconds. The AI analyzes your input, understands the spatial layout and design intent, and produces a photorealistic render. If you don't love the first result, you can regenerate with different settings or refine your prompt.
Step 5: Edit and Refine (Optional)
Want to change specific elements? Rendershop's Edit Tool lets you select areas of the render and describe changes — swap the roof material, change the wall color, add landscaping, or remove objects. The AI modifies just the selected area while keeping everything else intact.

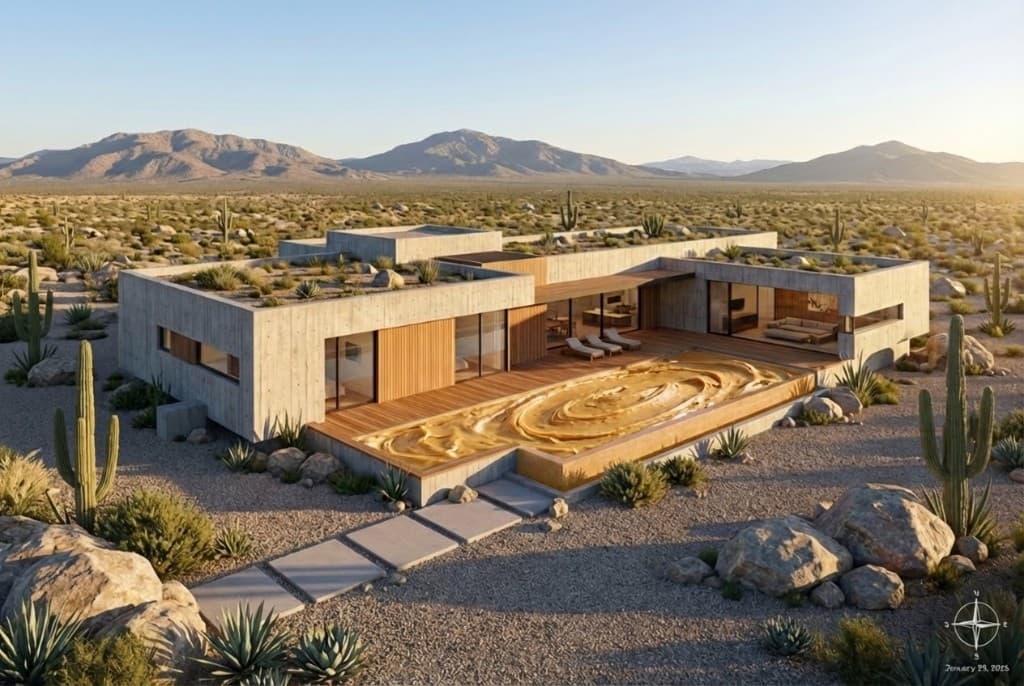
Selectively edit parts of your render without regenerating the entire image
Step 6: Enhance and Download
Happy with the result? Use the Enhance Tool to upscale your render up to 10x for print-ready resolution. Then download your image — it's yours to use commercially for client presentations, marketing, social media, and more.
Enhance your render for sharper details and higher resolution output
6. Tips for Better AI Renders
AI rendering is easy to start with, but a few tips will help you get even better results:
Beginner Tips:
- • Be specific with your prompts. Instead of "modern house," try "two-story modern home with flat roof, white stucco walls, large floor-to-ceiling windows, and a landscaped front yard at golden hour."
- • Start with a clean sketch. The clearer your input image, the better the AI can interpret your design intent. Dark lines on white paper work best.
- • Specify lighting conditions. "Golden hour," "overcast afternoon," or "twilight with interior lights on" dramatically change the mood of your render.
- • Include materials. Mention specific materials like "cedar cladding," "exposed concrete," or "red brick" to get more accurate results.
- • Generate multiple variations. Don't stop at the first render. Try different styles, angles, and descriptions to find the perfect result.
- • Use the Edit tool for fine-tuning. Rather than regenerating from scratch, use selective editing to tweak specific elements you want to change.
7. Beyond Rendering: What Else Can AI Do?
Once you're comfortable with AI rendering, there's a whole suite of related tools that can enhance your workflow. Rendershop includes all of these in a single platform:
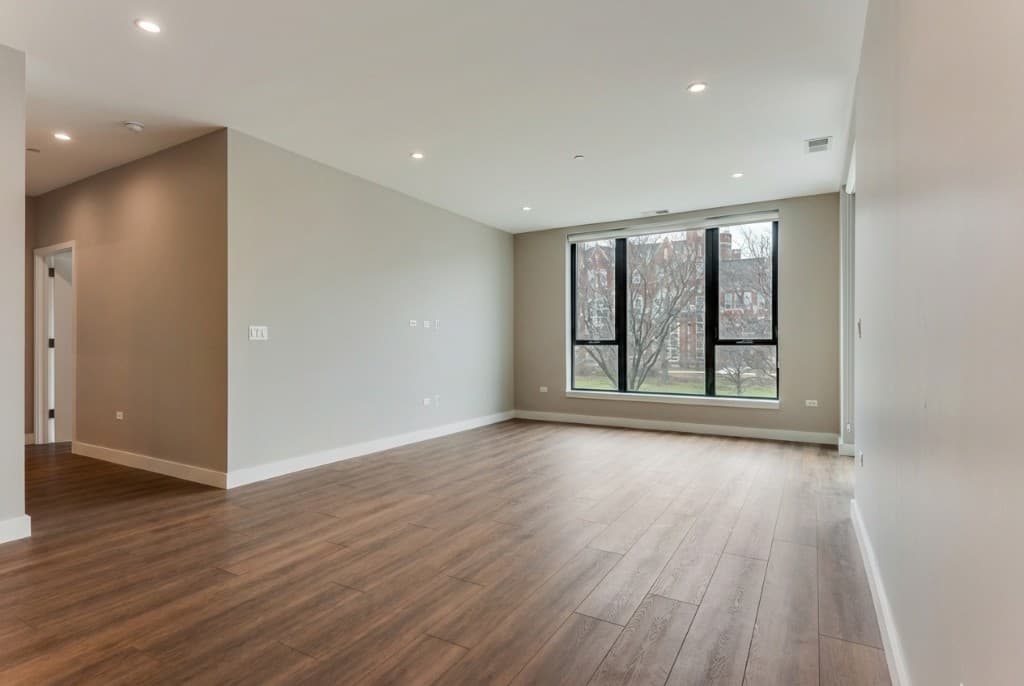
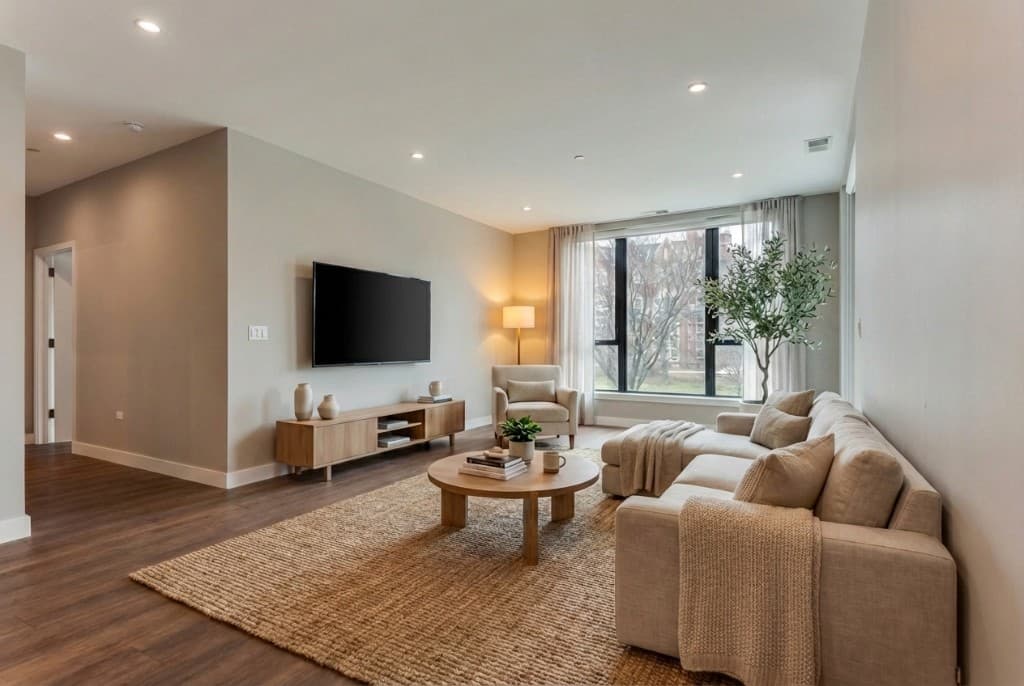
Virtual Staging
Upload a photo of an empty room and the AI fills it with photorealistic furniture and decor. This is invaluable for real estate agents staging vacant properties and interior designers presenting concepts.
AI Video Walkthroughs
Turn any static render into a cinematic walkthrough video. This is perfect for client presentations, social media content, and marketing — and it's as simple as clicking a button on an existing render.
Photo Editing with Inpainting
Selectively modify parts of any image. Change wall colors, swap furniture, remove unwanted objects, or add landscaping — all with AI-powered precision. Think of it as Photoshop, but you describe the change in words instead of using brushes.
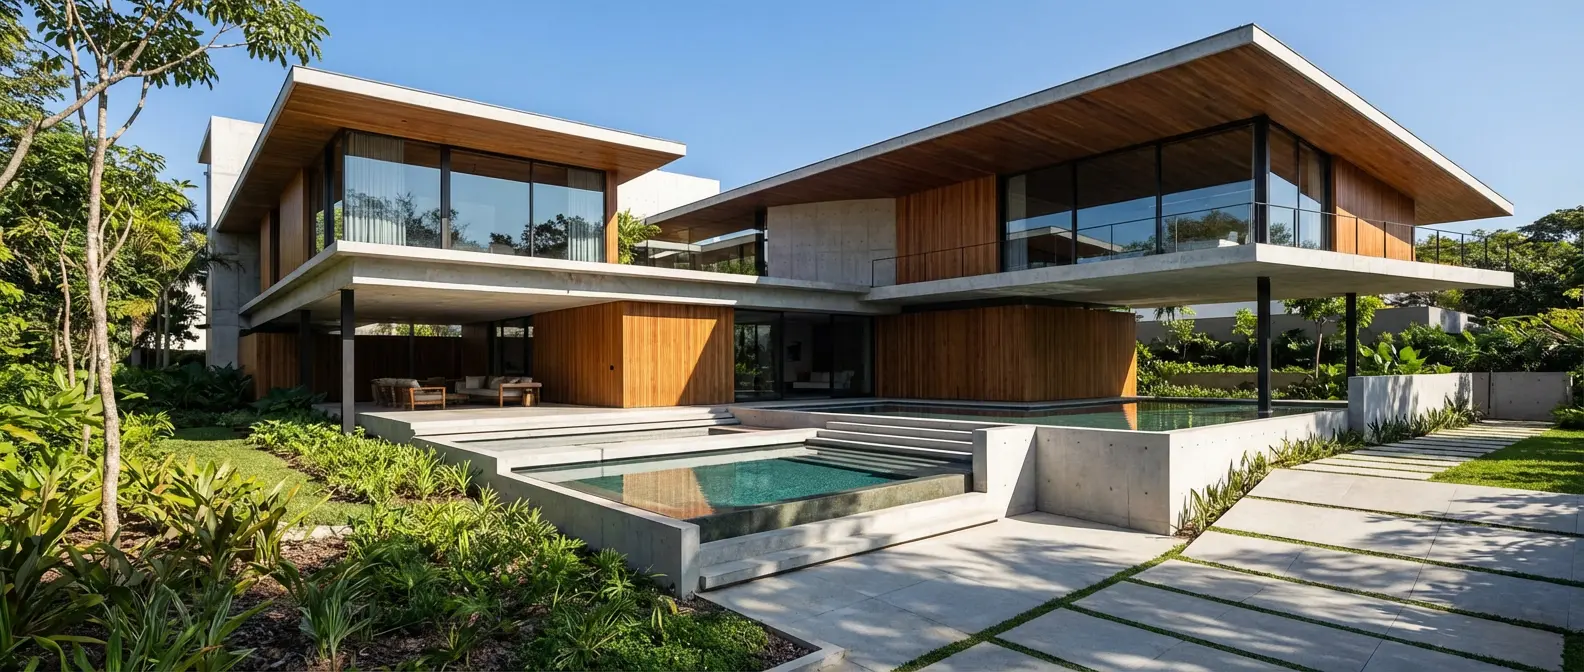
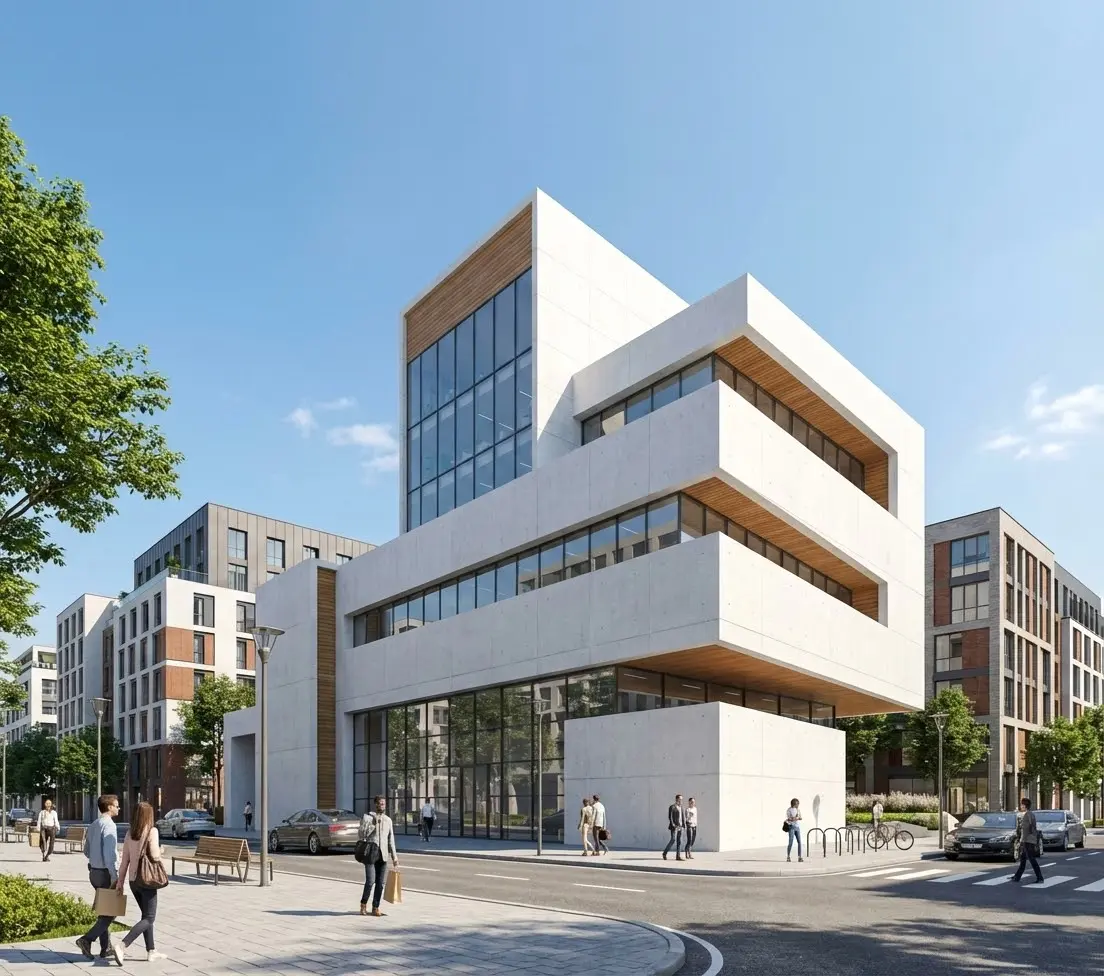
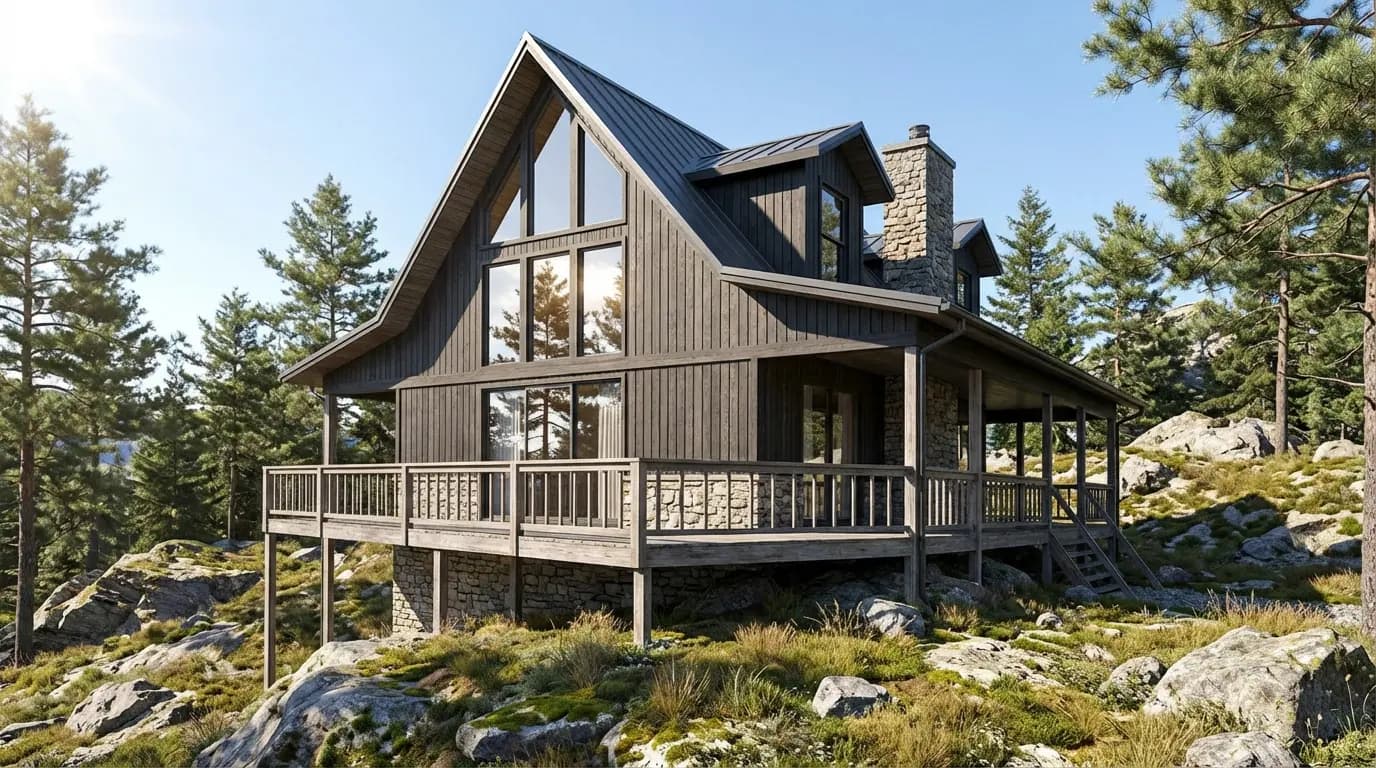
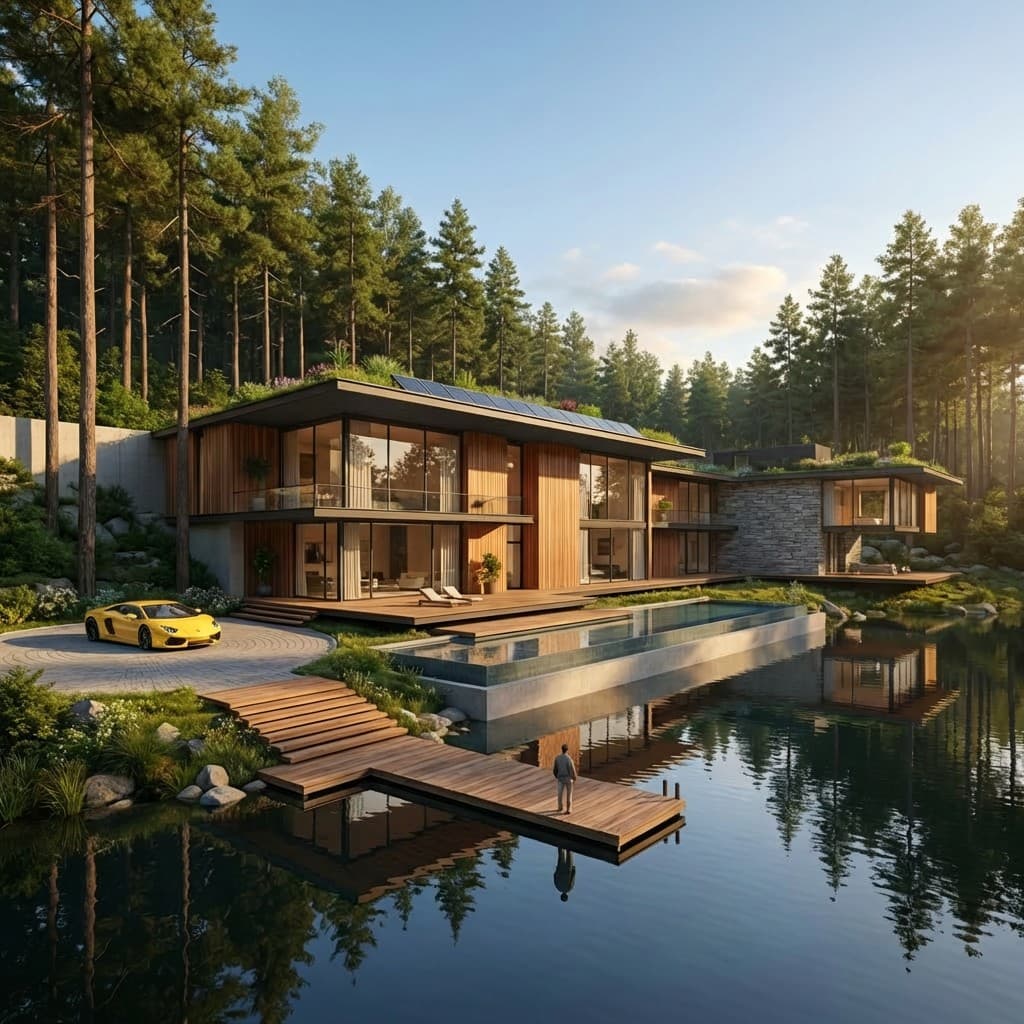
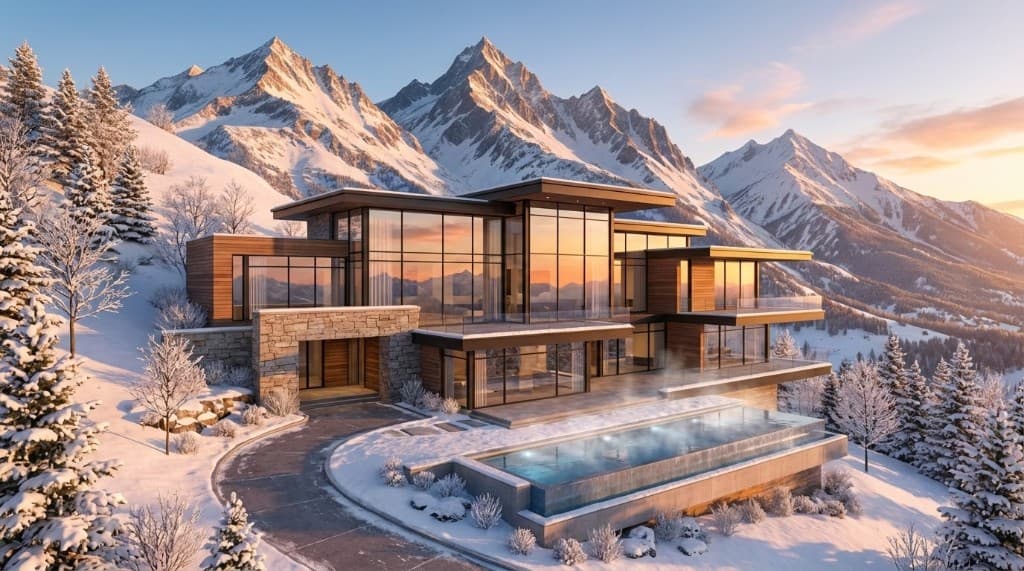
What You Can Create with AI Rendering
Here are examples of what beginners have created with Rendershop — all generated from simple sketches or text prompts:
Get Started Today
AI rendering has removed every barrier that used to stand between a design idea and a photorealistic visualization. You don't need expensive software, years of experience, or a powerful computer. You just need a design and a few minutes.
Whether you're an architecture student exploring concepts, a real estate agent staging listings, a builder showing clients their dream home, or a designer presenting ideas — AI rendering gives you the power to visualize anything, instantly.
The best way to learn is to try it. Start with your next sketch, and see what AI can do with it.
Create Your First AI Render — Free
Sign up for Rendershop and get 50 free credits. Upload a sketch, type a prompt, and see your design come to life in seconds.
— The Rendershop Team